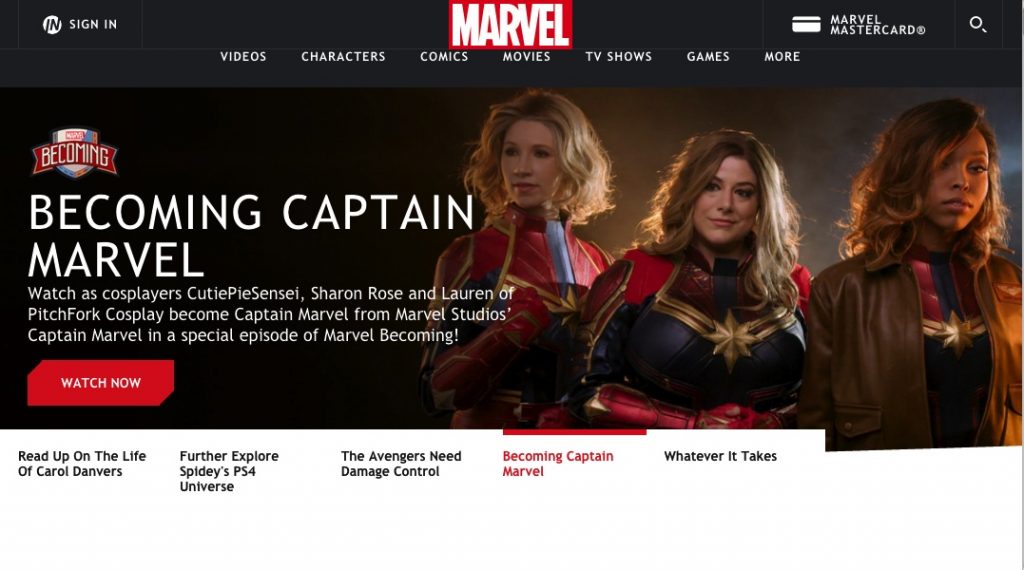
I’m not the most reliable poster at the best of times, but as it happens I’ve had an extra good reason to be Internet Quiet for the last few months. See, this trio of ridiculously talented makers – Lauren, Sharon Rose, and CutiePieSensei – have been working their behinds off to replicate the Captain Marvel movie suit for the latest Marvel Becoming episode. That’s a major project by itself, so when they wanted to add a certain significant jacket to the ensemble I got called in as reinforcements.
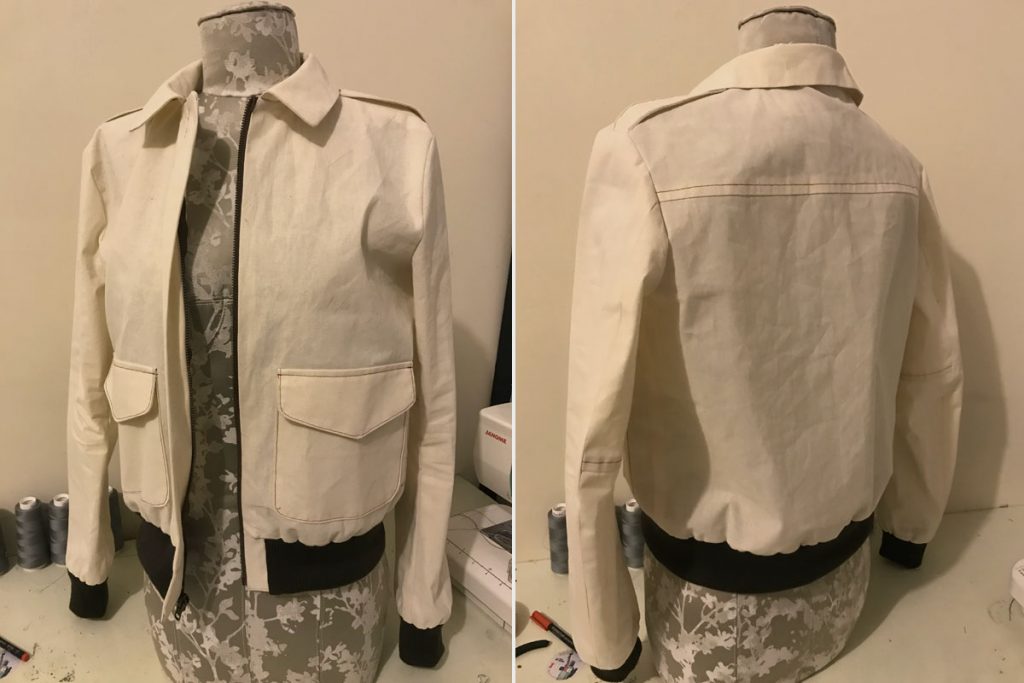
Captain Marvel’s jacket is a pretty accurate rendition of an A-2 flight jacket,* so as I was developing the custom pattern I was able to refer to pictures of actual historical jackets to fill in any gaps in the available references. I did two mock-ups, the first to work out the basic details and proportions and the second as a fitting sample that I sent to CutiePieSensei to try on. With her feedback, I started cutting out the actual jacket.
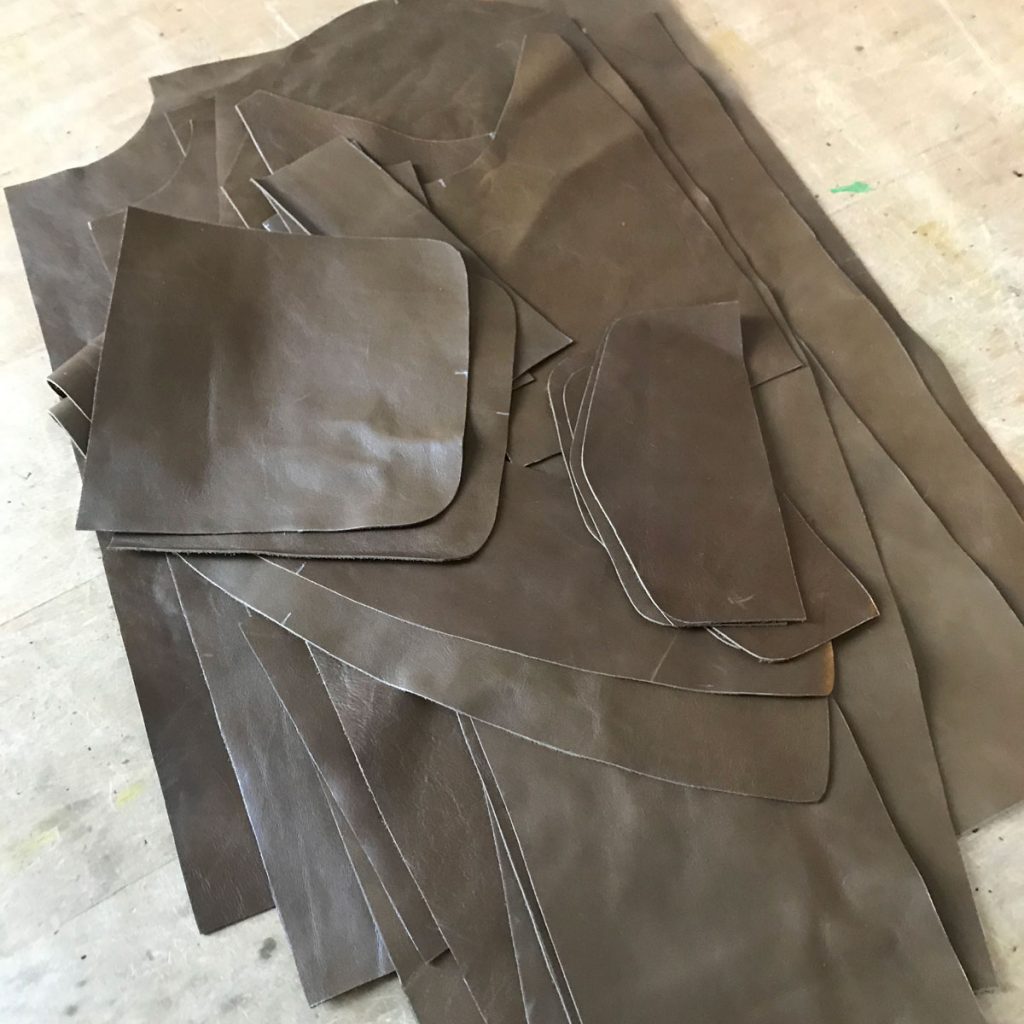
The jacket was cut from 2.5oz cowhide, which was right about at the limit of what my domestic sewing machines could handle in the number of layers required for this jacket. Skipped stitches were the biggest problem I encountered, followed by feeding issues, and I pulled out the whole bag of tricks to make it work (might do a separate post on that later.) The battle was totally worth it though, as the color variations in the leather (with some strategic cutting) gave me a head start on weathering the jacket and giving it some authentic texture.
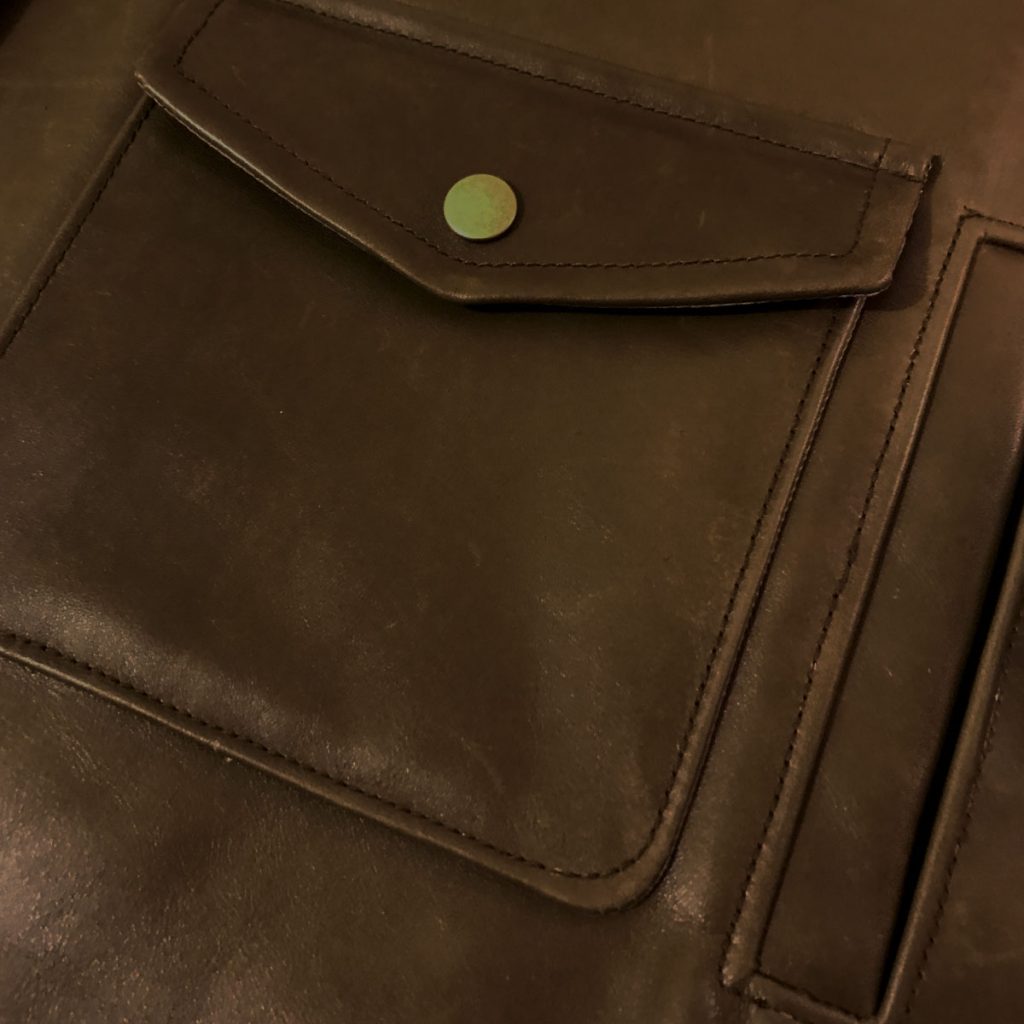
One detail that I loved on the historical jackets is the hand-warmer pocket hidden behind the patch pocket – a subtle but very functional detail that makes the jacket feel more real. This was a bit of a trial in the heavy leather, especially the topstitching through approximately a bazillion layers around the pocket outline, but it’s actually pretty straightforward to do as long as you get the pattern and construction order right. I did the pocket portions of the jacket front first, before beginning to assemble the jacket, so that they’d be easy to maneuver through the machine.
The bag for the welt pocket is cut long enough to extend past the far edge of the patch pocket, then fold back on itself to make the inside layer of the pocket. I sewed a patch of leather to the inside of the pocket bag behind where the opening would be, so that the pocket lining isn’t visible in the gap. I sewed the welt pocket up to the point where the pocket bag would be folded back and closed up, then paused and attached the patch pocket to the outside of the jacket. This way, the patch pocket stitching holds the pocket lining in place and keeps it from bunching up inside the jacket, but doesn’t sew the pocket closed. Once the patch pocket and flap were finished I went back and finished off the hand-warmer pocket.
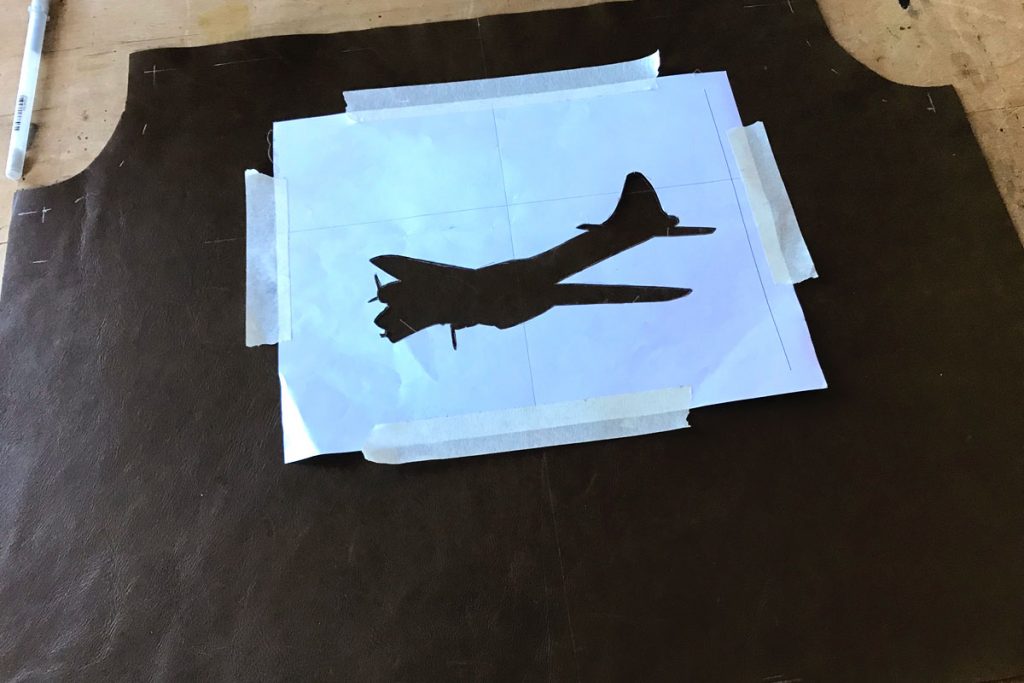
While I was assembling the jacket fronts, I also started painting the jacket back. I drew out the graphic in Illustrator, so I could check placement on the back pattern and resize it as needed. Then I printed out extra copies of the graphic and cut individual stencils for the various elements to copy the shapes onto the jacket back.
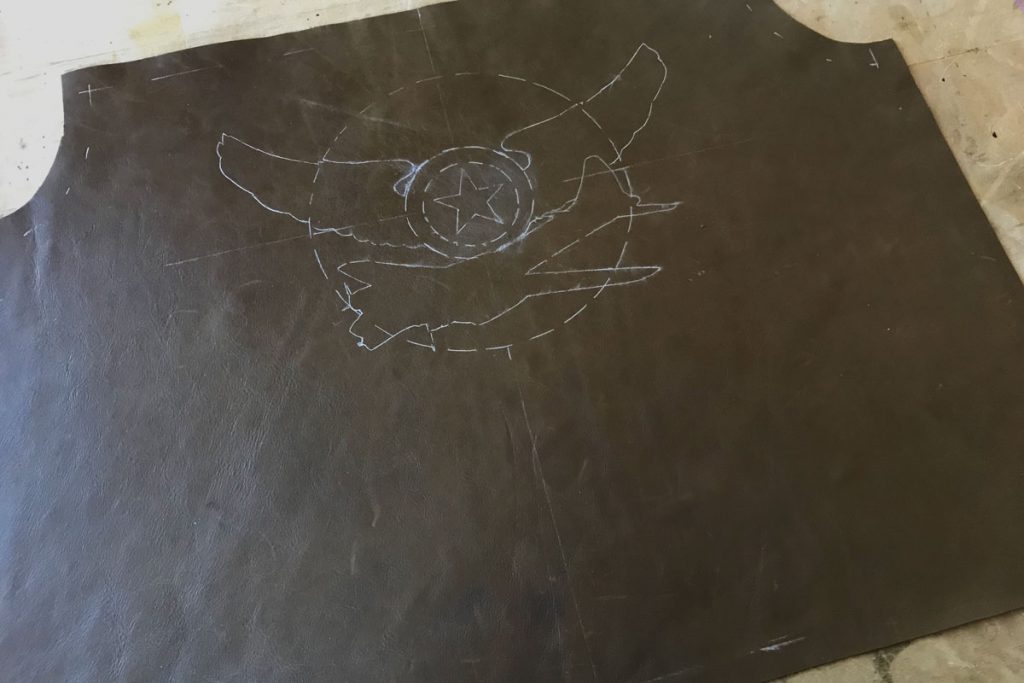
I included registration lines on all the individual stencil pieces, to make sure everything would stay lined up and proportioned correctly. I usually mark leather with a silver gel pen, which doesn’t rub off the leather as I’m working but wipes away with a damp towel when I’m done.

I really wanted to emulate the balance of detail and and painterliness in the original graphic, so I freehanded the rest of the design once I had the basic shapes blocked in. The graphic was painted with Angelus leather paints, which are impressively tough and resilient but sometimes required several coats to get good opacity.
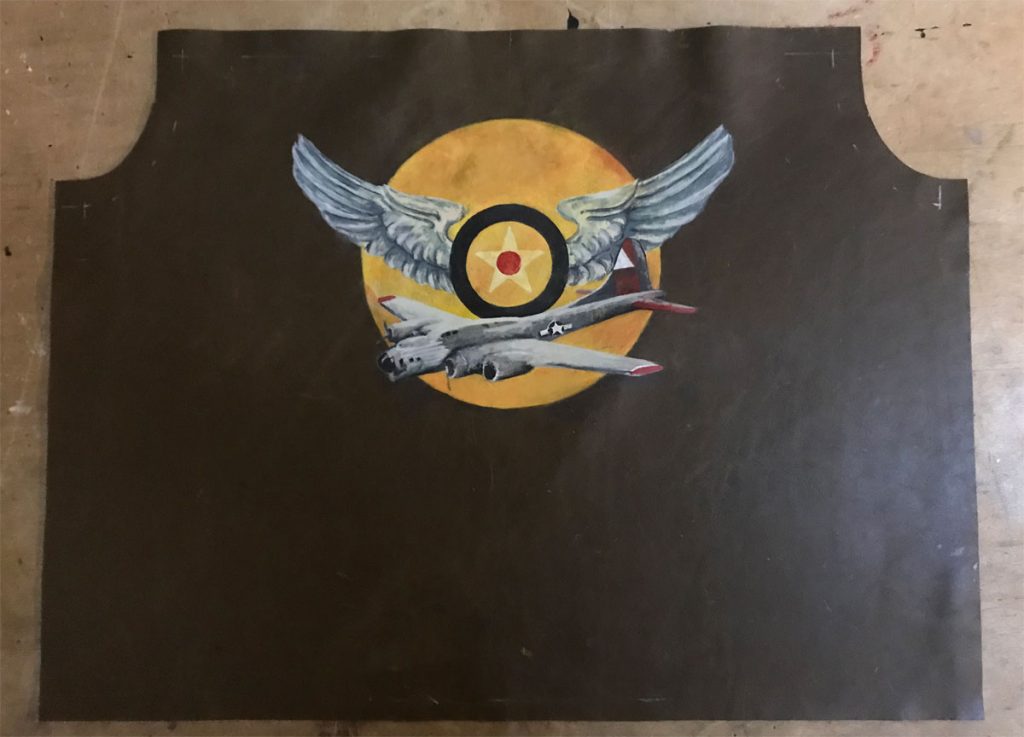
There were still a few very fine details missing after two days of painting, but I’d reached the limit of what I could do with my existing brushes and had to go buy a size zero to finish. In the meantime, I started assembling the rest of the jacket.
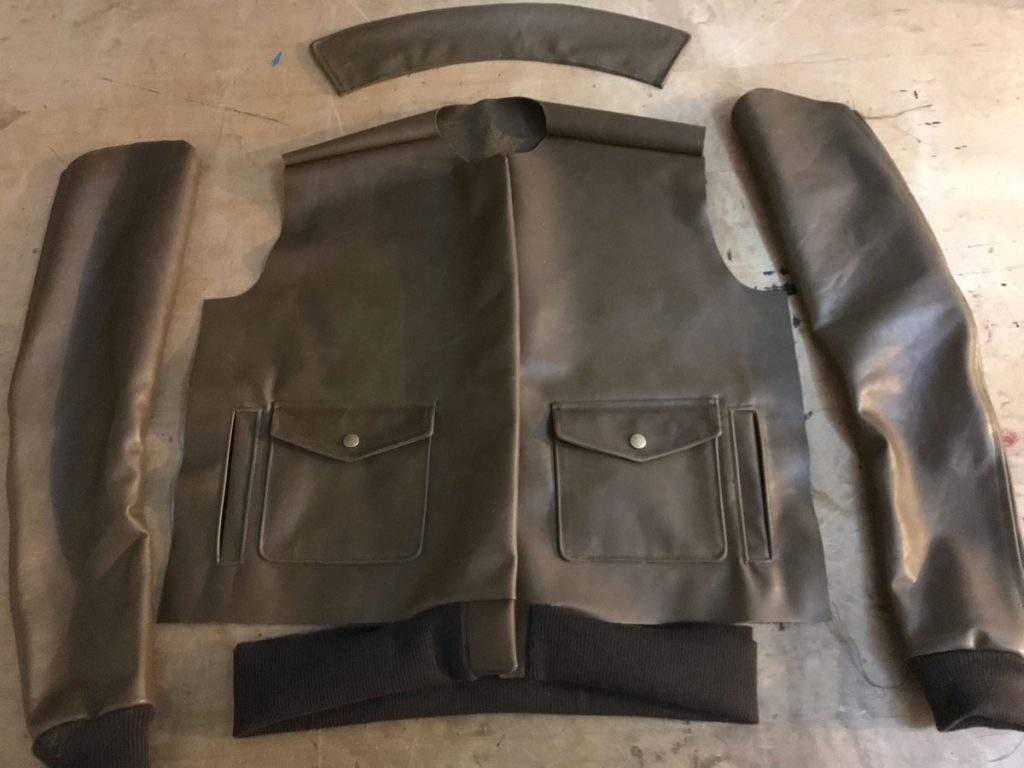
The assembly of the front zipper/tab/ribbing situation is possibly the trickiest part of sewing a jacket like this, so you might want to pick up a pattern if you want to do this and haven’t made one before. The overlap and underlap sides are a little different, but basically the top outside edges of the tabs are attached to the jacket fronts and the zipper inserted first. Then the ribbing is attached to the tabs, and the ribbing/tab assembly folded in half and attached to the lower edge of the jacket. I was able to complete most of the zipper insertion and attach all of this before the back was actually on the jacket, but waited to topstitch anything until the collar and ribbing were on. The sleeves were inserted just before the lining, as they’re a pretty independent unit that can be assembled separately and just add weight while you’re maneuvering the rest of the jacket around if you attach them too early.
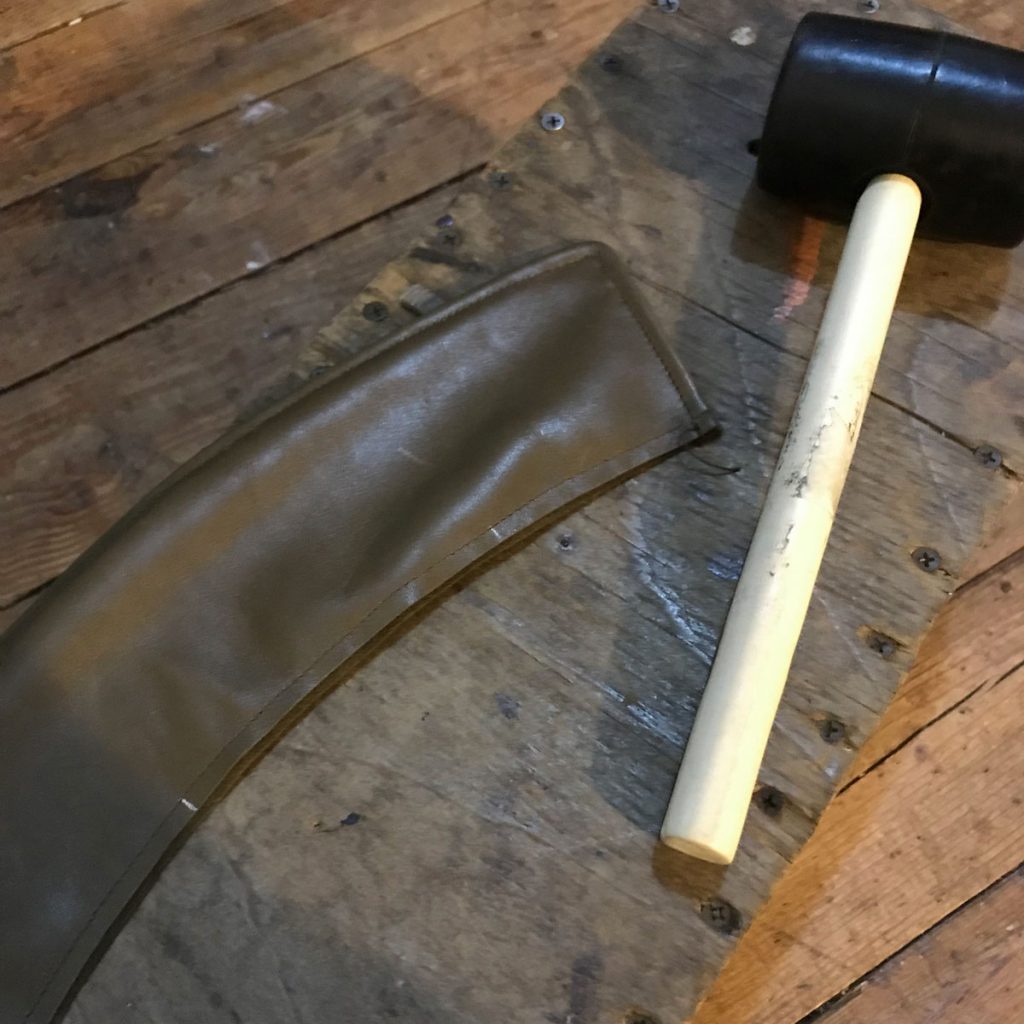
Throughout the construction of this jacket, I had to be pretty ruthless about managing the leather bulk. Sometimes that meant shaving away some thickness behind fold lines or where several layers of seam allowance overlapped; sometimes that meant walloping a fold with a mallet to get a nice crease. As long as you’re careful not to remove too much thickness and weaken the leather, or whack hard enough to break the stitches, it’s really helpful for getting nice crisp seams and edges.
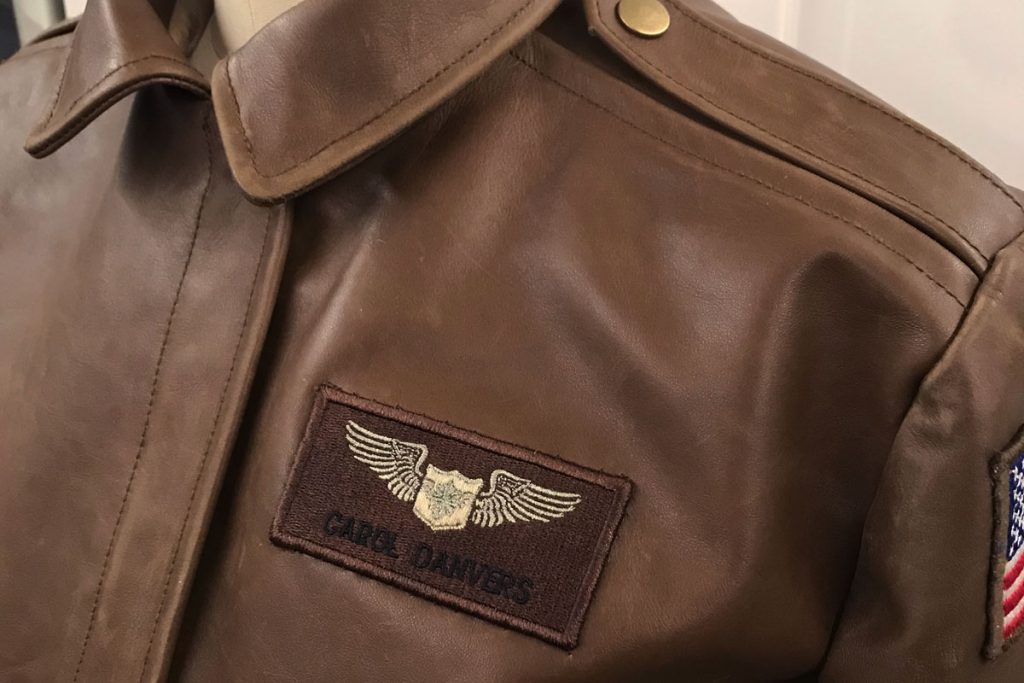
The last finishing touch was the embroidered patches on the sleeve and jacket front. I admit I bought the flag patch; Carol would have done the same. For the nametag patch, I had to learn something new. I drew up a customized interpretation of the pilot wing symbol, with a bitty Captain Marvel emblem in the center. I digitized it myself, (my first digitizing project ever) and it was stitched up on Pitchfork Cosplay’s embroidery machine with lots of handholding from Team Pitchfork. (The finished jacket pictures were also taken on Pitchfork’s dress form.)
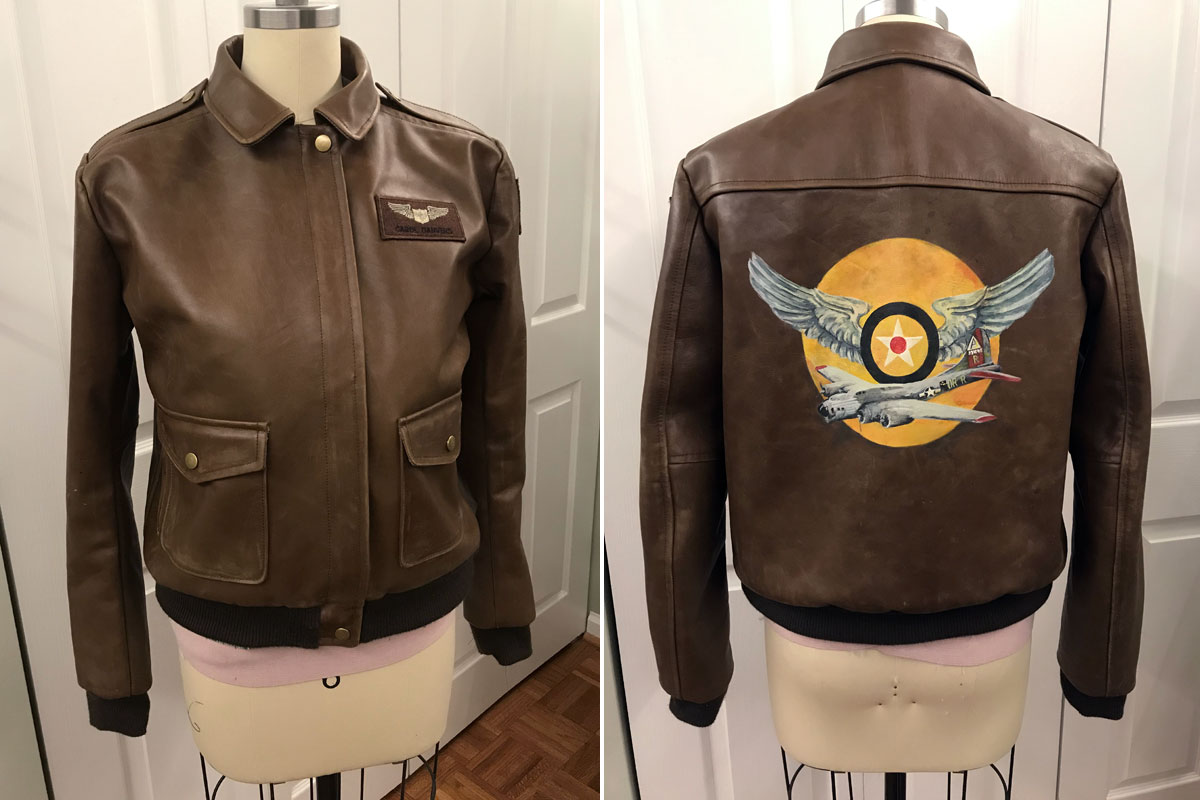
I’m pretty darn pleased with the final jacket, though now that I’ve seen the movie I notice I missed a few details (leather facing instead of lining all the way to the zipper; ketchup stain.) It fits a little funny on the dress form since it was cut to fit over the Captain Marvel suit and armor, so you’ll just have to check out the video to see it in action! I’m immensely grateful to the Marvel Becoming team for including me in this project, and just floored by the accomplishment of my fellow makers. Well done, Carol Corps!
*N.B., with apologies to any real A-2 enthusiasts who may find this post – I’m only interested in military fashion to the extent that it makes me feel like a William Gibson character, so my goal with the research was strictly to be true to Captain Marvel’s origin.