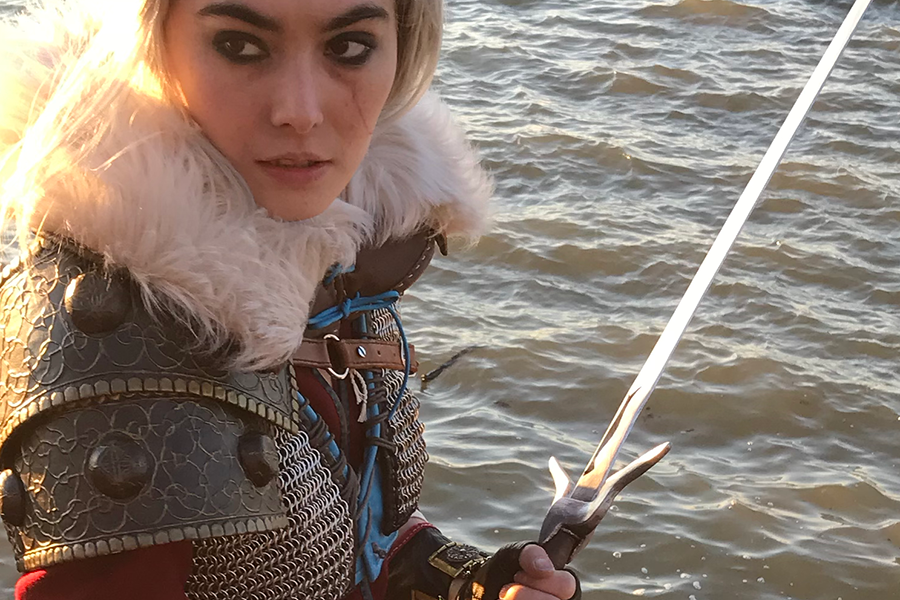
Ciri was one of those builds where each individual component I looked at immediately suggested a technique I wanted to try. In the case of the knee and shoulder armor, that was worbla detailed with puff paint.
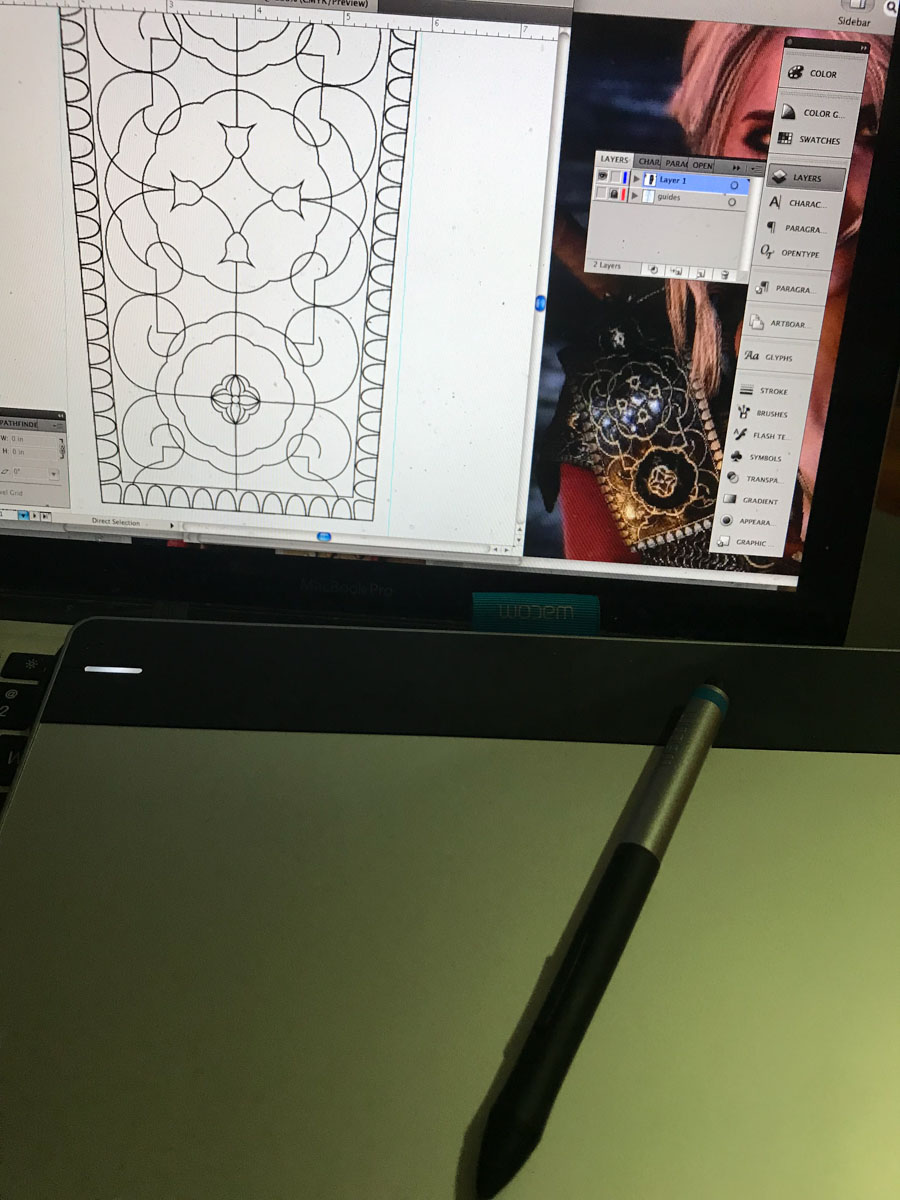
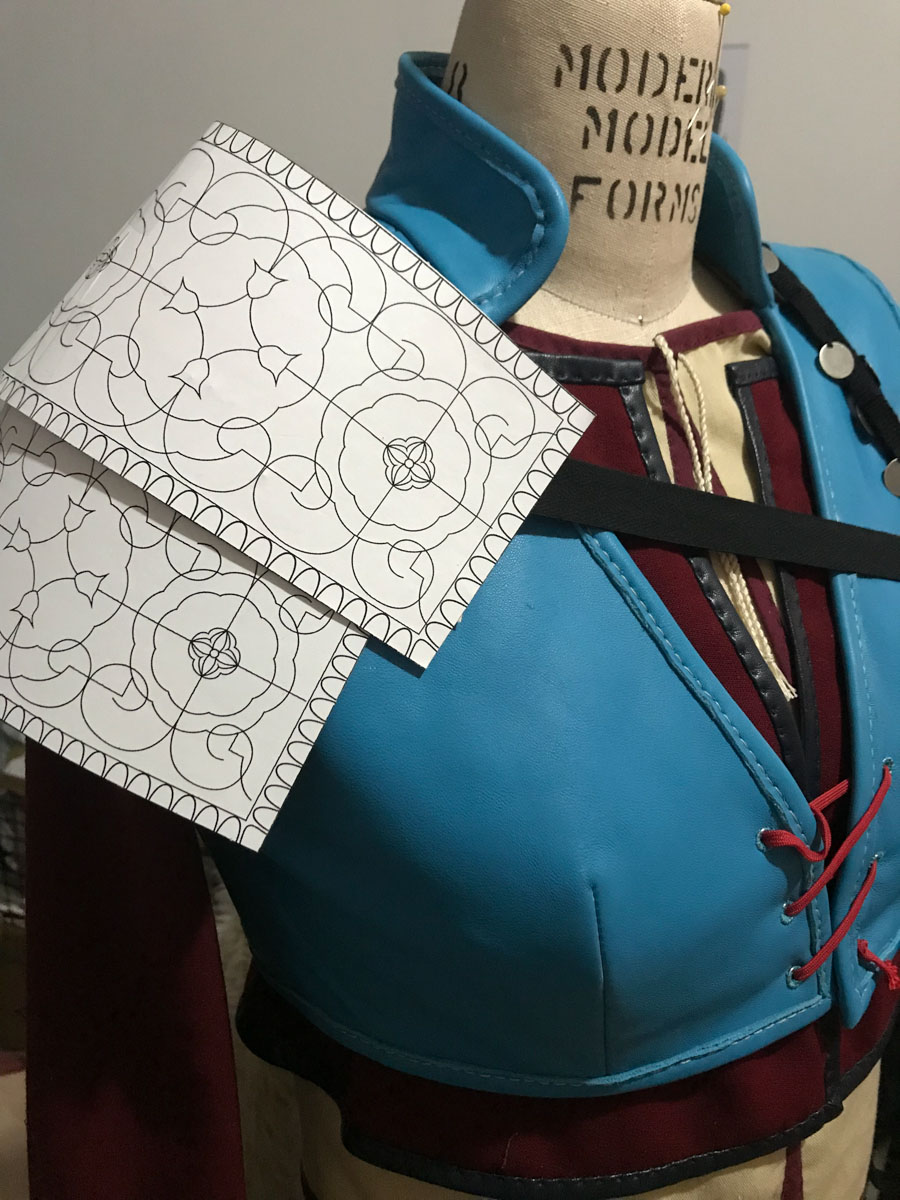
I designed the armor patterns digitally, because I knew the shapes would need to work with the detailed relief designs and I wanted the freedom to experiment with scale and proprotions. This enabled me to print out copies of the patterns at various sizes to try on and adjust until they looked right.
I dislike working with foam, so the pauldron is worbla reinforced with buckram and the poleyns are pearly worbla over cardstock with a double layer of regular worbla for the central dome (which was free shaped over a ball ornament).
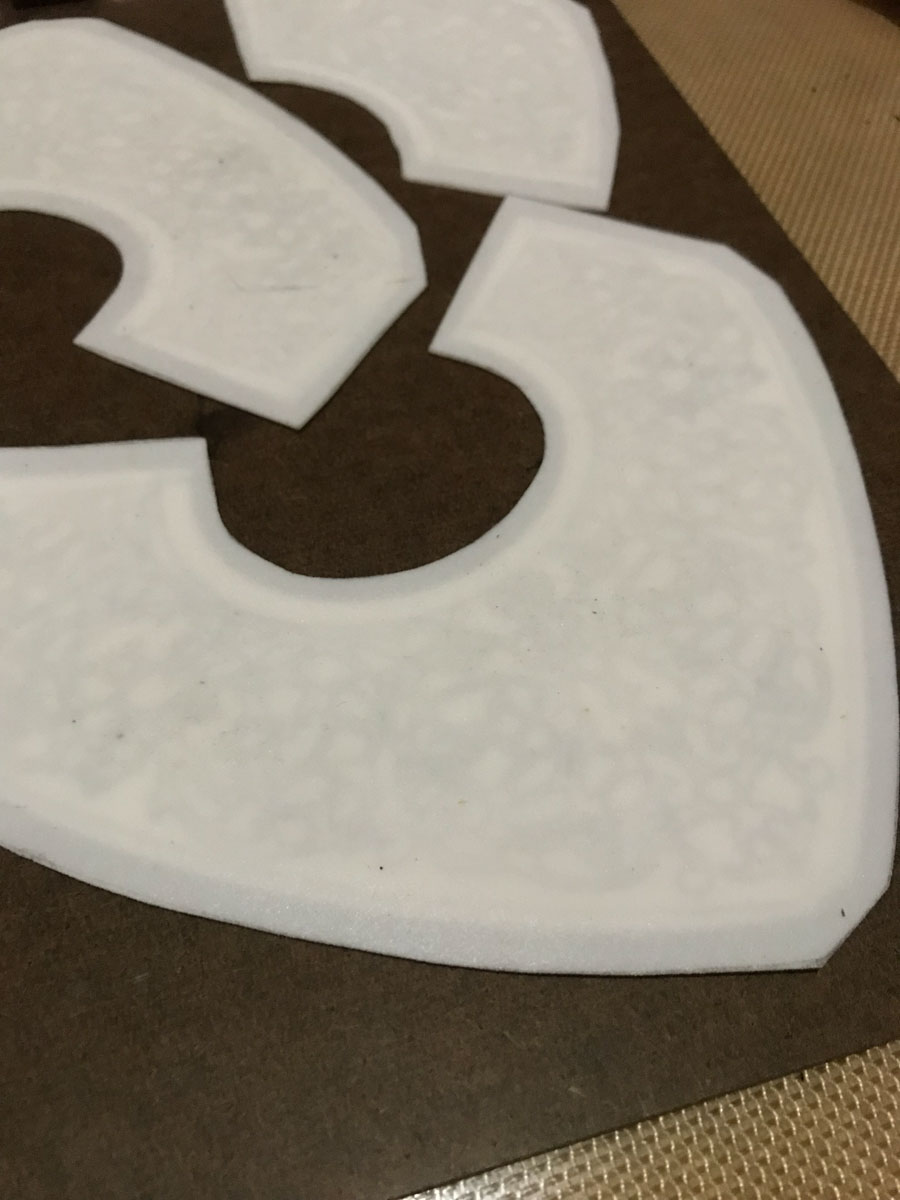
Although the worbla work was relatively simple, both pieces have hand-sculpted edge details, which took some work to produce a smooth and even result. The poleyns have a very fine rim on the edge, which was shaped by hand sculpting the excess worbla around the edge of the pattern pieces and progressively refining it smaller and smoother over many hours.

The pauldron has this tabbed detail around the border, and since I didn’t want to sculpt it from a lot of little individual balls of worbla I instead cruelly abused my pattern notcher to rough out the tab shapes and then…sculpted them all individually to get the nice rounded shapes. Unfun, do not recommend, but I got there in the end.
I mocked up the pauldron straps in craft foam to make sure everything fit correctly. Here you can also see the Chicago screws used to hold everything together, which later got covered up by the little decorative nubs.
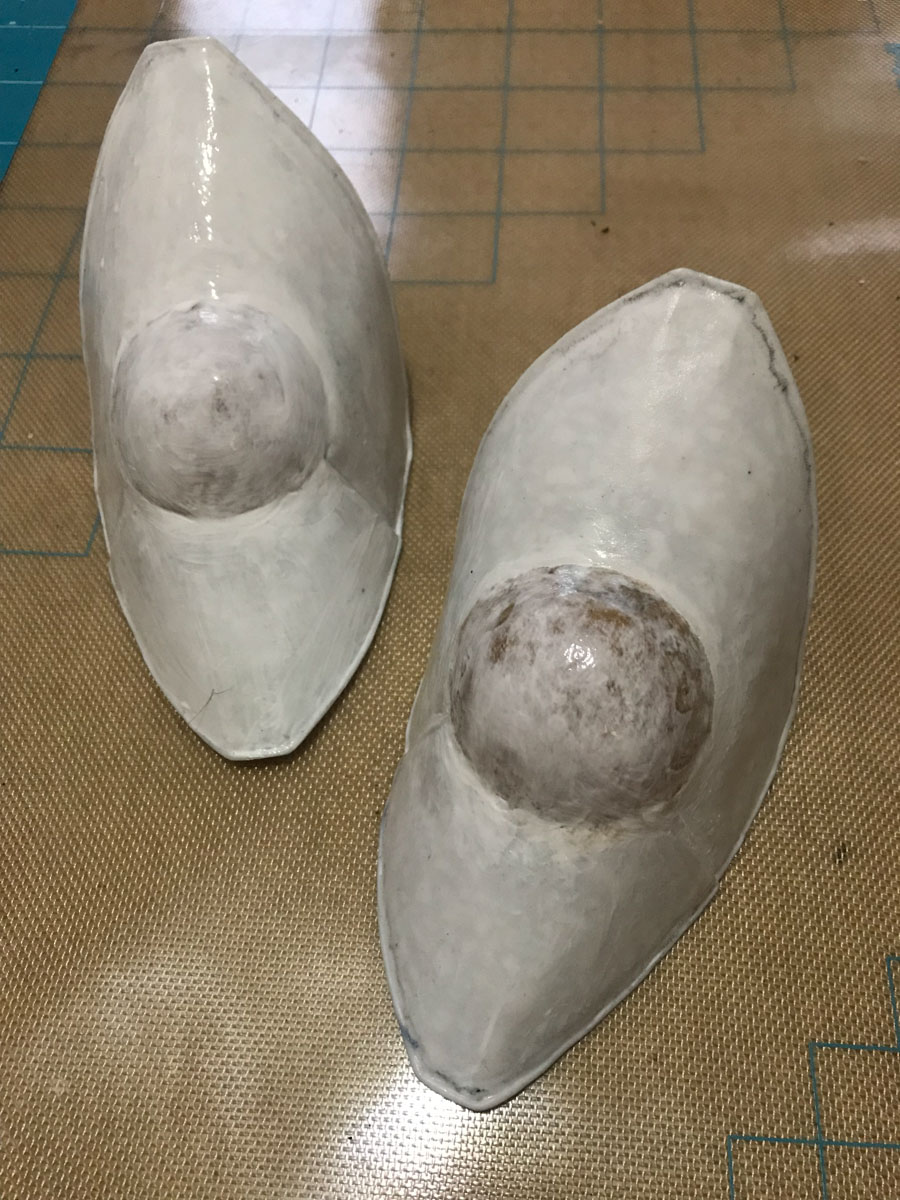
Both pieces were primed in flexbond, which can be a tricky primer to work with. It rewets basically indefinitely as far as I can tell, so you can coat and dry and then spritz with water to smooth, but if you use too much water then you can actually wet through all your coats and end up with big ripples. So it needs a light hand and the discipline to avoid screwing around with it when it’s still wet, which I am not at all good at. Sigh. It also peels off in huge chunks if something dings it hard enough, so I’m on the lookout for something better.
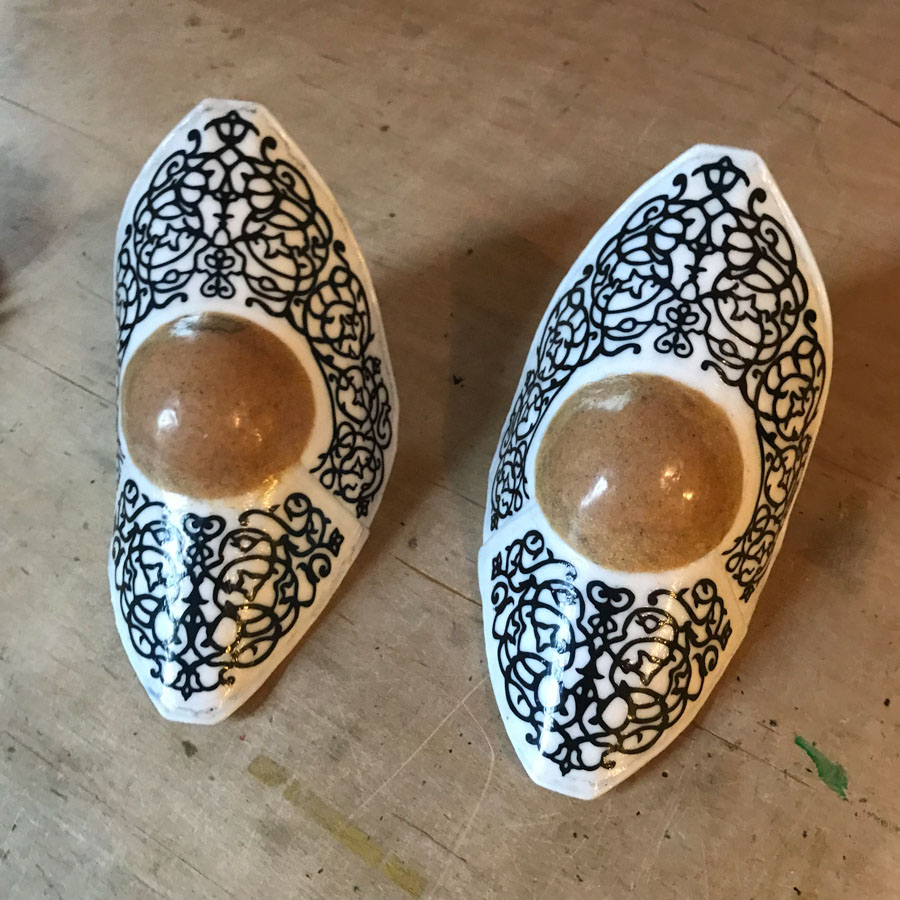
I detoured slightly here to try using self-adhesive vinyl for the filigree detailing. This may have been inspired by something Cowbutt Crunchies did at some point? In any case, it was a great experiment, and I was grateful to Pitchfork Cosplay for the loan of her Cricut, but it didn’t have the dimension I was looking for, especially once the primer was on. So I returned to my original plan, which was to hand apply the filigree in puff paint.
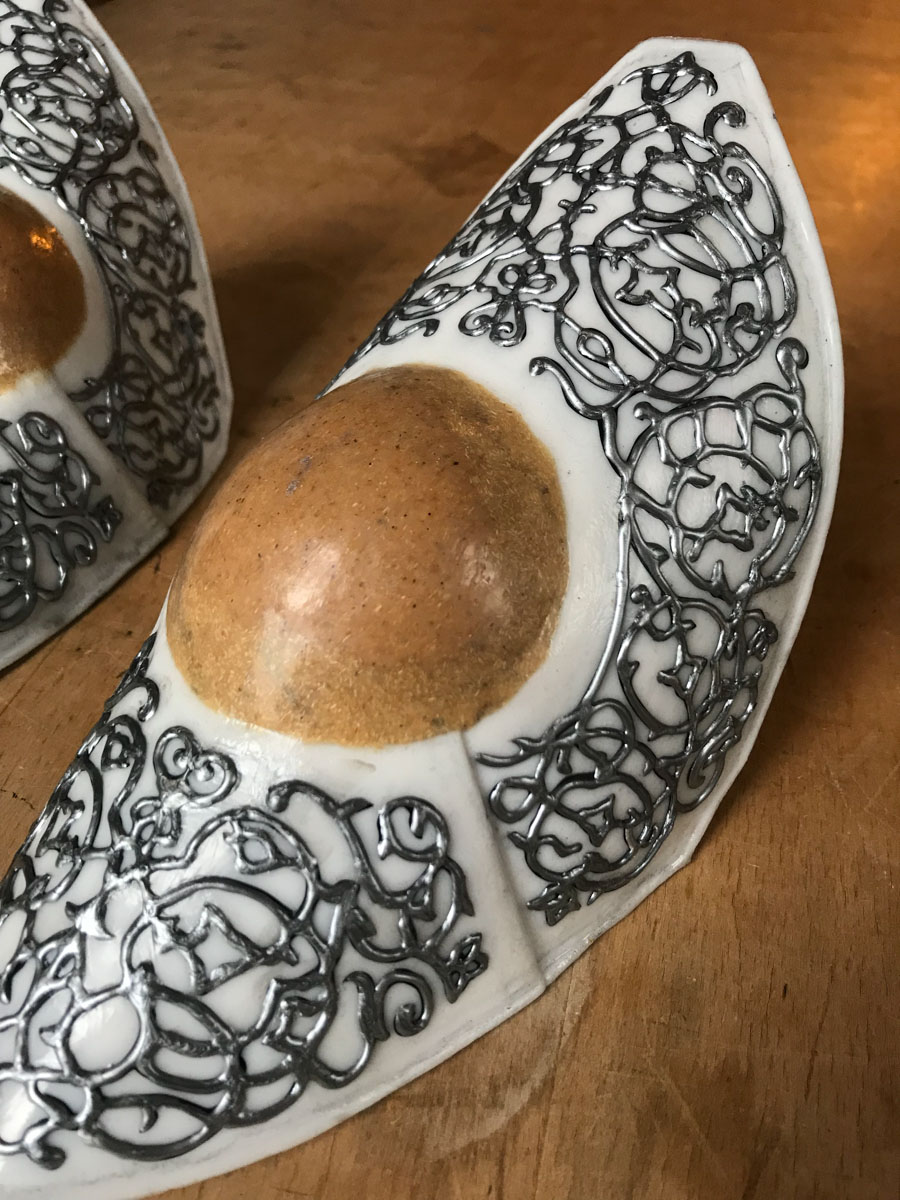
This was a bit of a slog, requiring steady hands and a lot of patience since the puff paint takes a surprisingly long time to dry and is soft and squishy and very easy to smear until it does. My best friend during this process was a small flat paintbrush, which I used constantly for cleanup and evening out the lines (and erasing my numerous errors and smudges.)
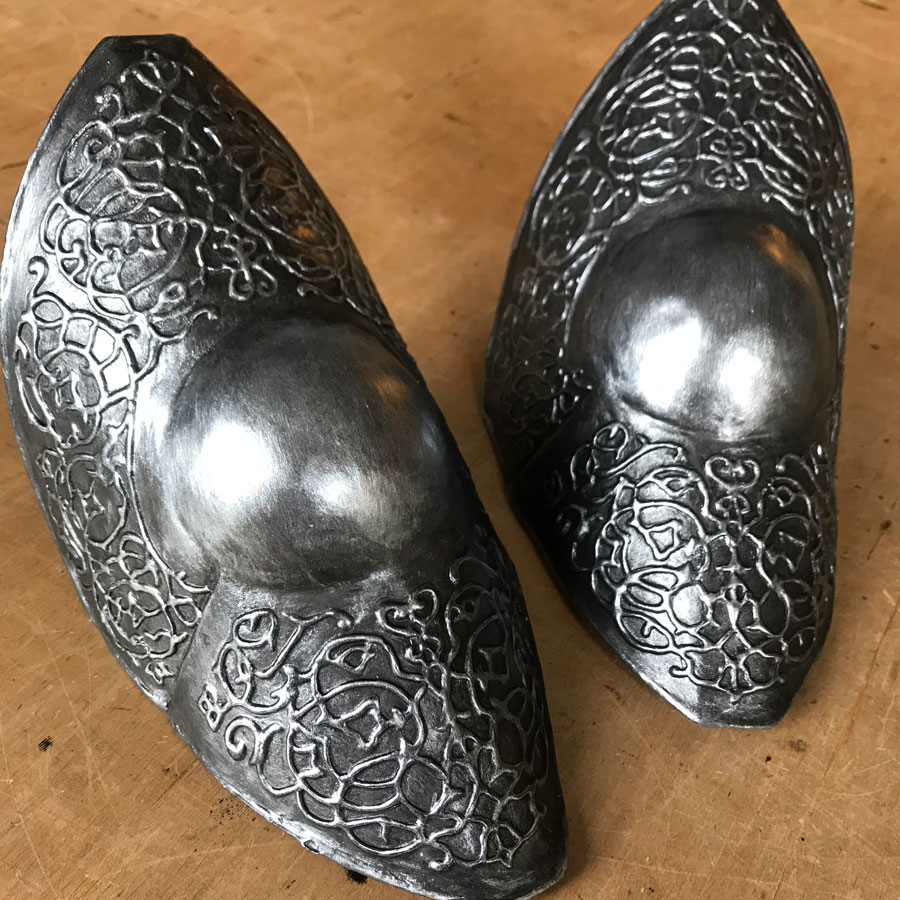
The armor pieces were painted in metallic acrylics, with a highlight shade brushed on at the end to pick out the relief detailing. This was easier for the poleyns, which have denser filigree and similar shades for ground and highlight, but I eventually got the pauldron highlighted and cleaned up as well. I also have very few pictures from this stage because it was done during the crunch for NYCC 2018.
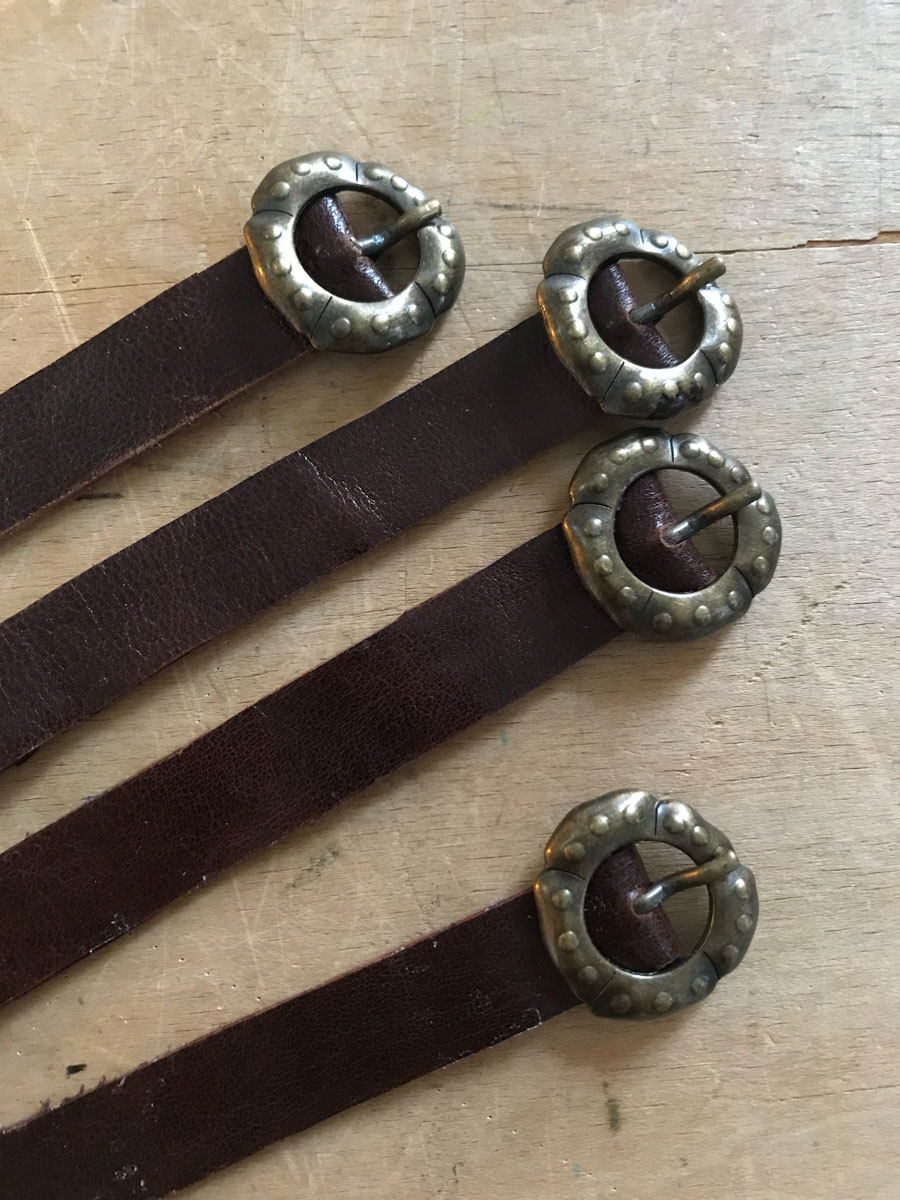
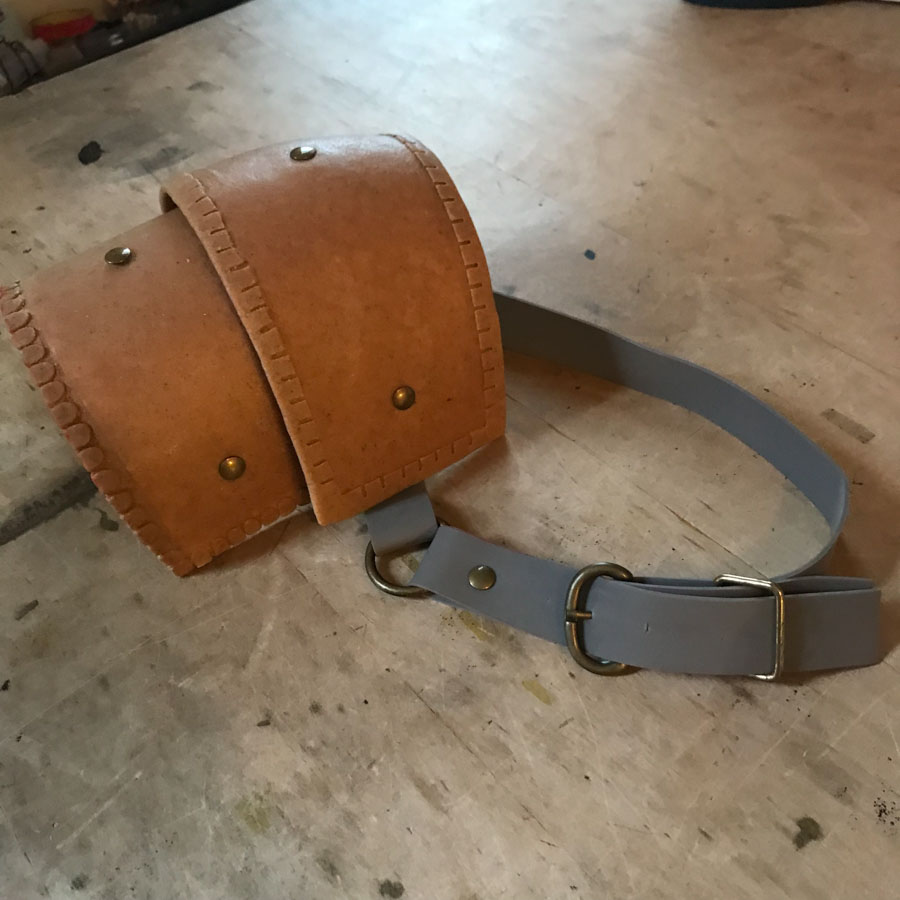
The first batch of knee straps I did were also a crunch casualty, because the leather I used was too heavy and wouldn’t go through the tiny round buckles. I eventually remade them with this thin, hard garment-weight leather, glued and hand saddle stiched with the one precious spool of genuine hy-mark thread I own. Not visible in the photos is the little bit of elastic I added to the middle of the strap, where it adds a bit of give for comfort but is hidden by the armor piece itself when worn.
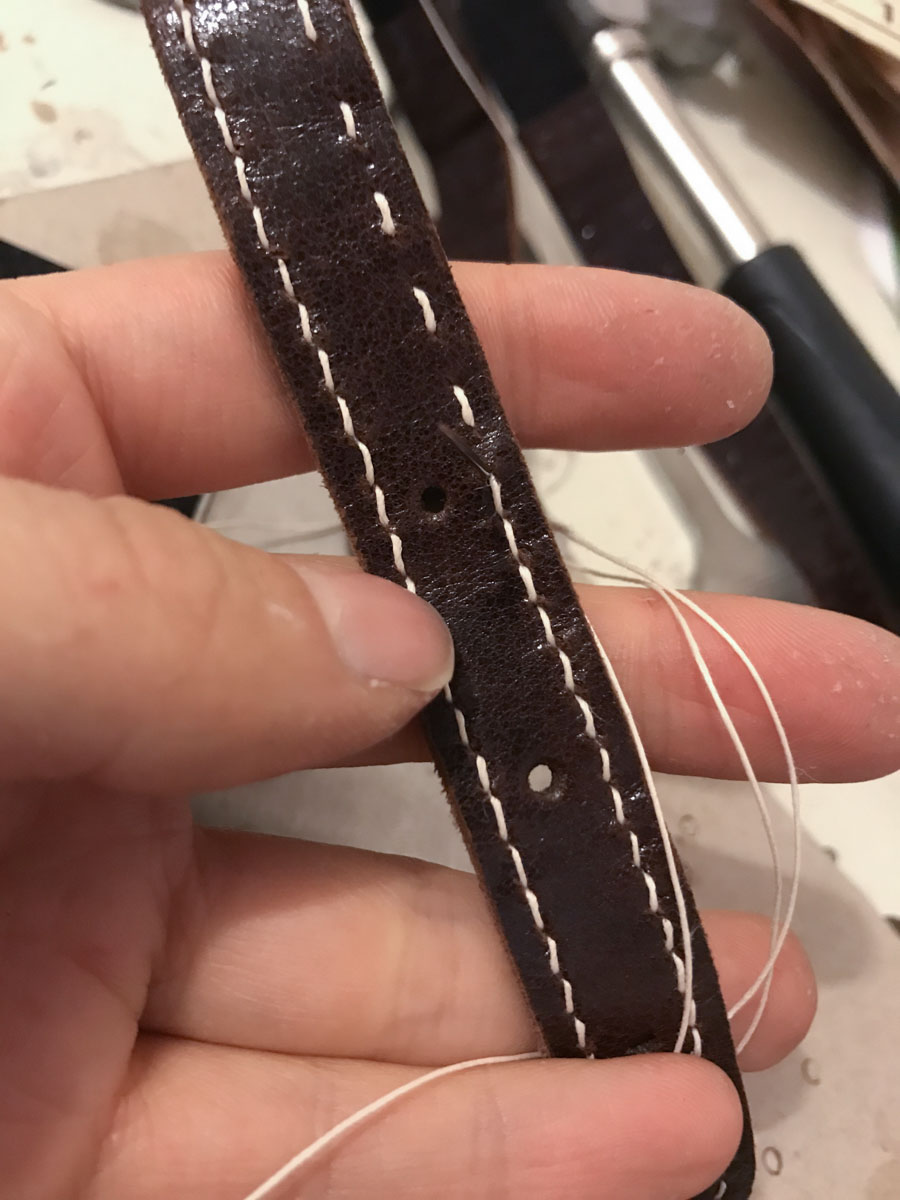
I hadn’t done a ton of classic leatherwork before tackling Ciri, and between the straps, scabbard, and boots this costume was a wonderful crash course in hand stitching, tooling, wet forming, carving – basically the works. Of course there’s plenty of refinement to be done still, but it’s given me an excellent toolset that I can bring to future projects.
The pauldron strap was my single outing with Fiebings pro dye, which is based on some truly nasty solvent and stank for ages after applying. I’ve since found water-based dyes that I’m happy with, (used for the scabbard and boots) which are absolutely worth the higher price in order to avoid that nightmare. Like everything else, it was saddle stitched by hand.
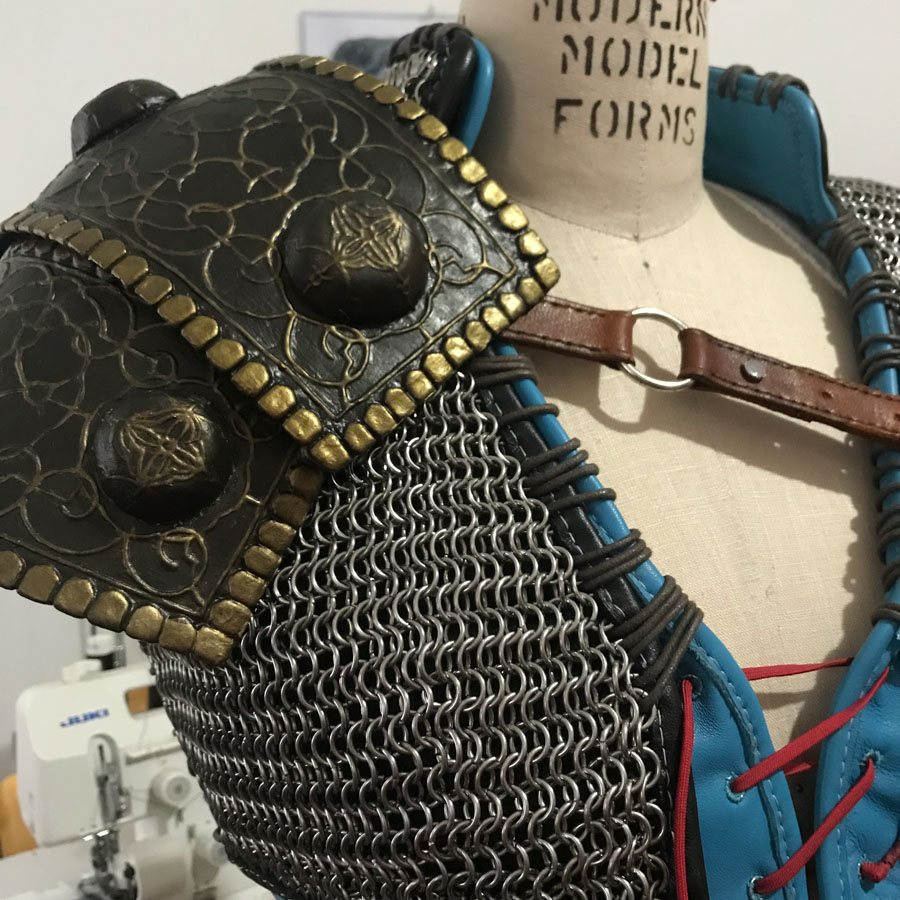
Once the screws were in and the straps were all assembled, I could finish off the pauldron with its little decorative nubs. These were formed over little blocks I made with Apoxie Sculpt, then detailed and painted individually along with the rest of the pauldron. I stuck them on with hot glue, being careful not to deform anything while it was softened by the heat.