I skimmed over the patternmaking side of things a little bit with the shirt post, because I felt like that pattern was pretty straightforward as such things go, and it would be easy enough to adapt from a premade pattern if you were so inclined. (I typically don’t because I enjoy patternmaking, I’ve already drafted a set of blocks to my own measurements, and I have a venomous dislike of fitting, but a lot of people feel differently about this.)
Ezio’s outer layers, though, are a little more interesting, if only because the shapes are so iconic. Based mostly on the way the layers came together at the collar and sleeves, I determined that I was looking at two distinct garments. One a short-sleeved jacket with long pointed tails and a wide collar; one a hip-length jerkin with puffed and slashed raglan sleeves and of course the pointed hood. I sketched out the under-layer first, since I’d need to have it done in order to fit the jerkin over the top of it, and hauled out my roll of pattern paper.
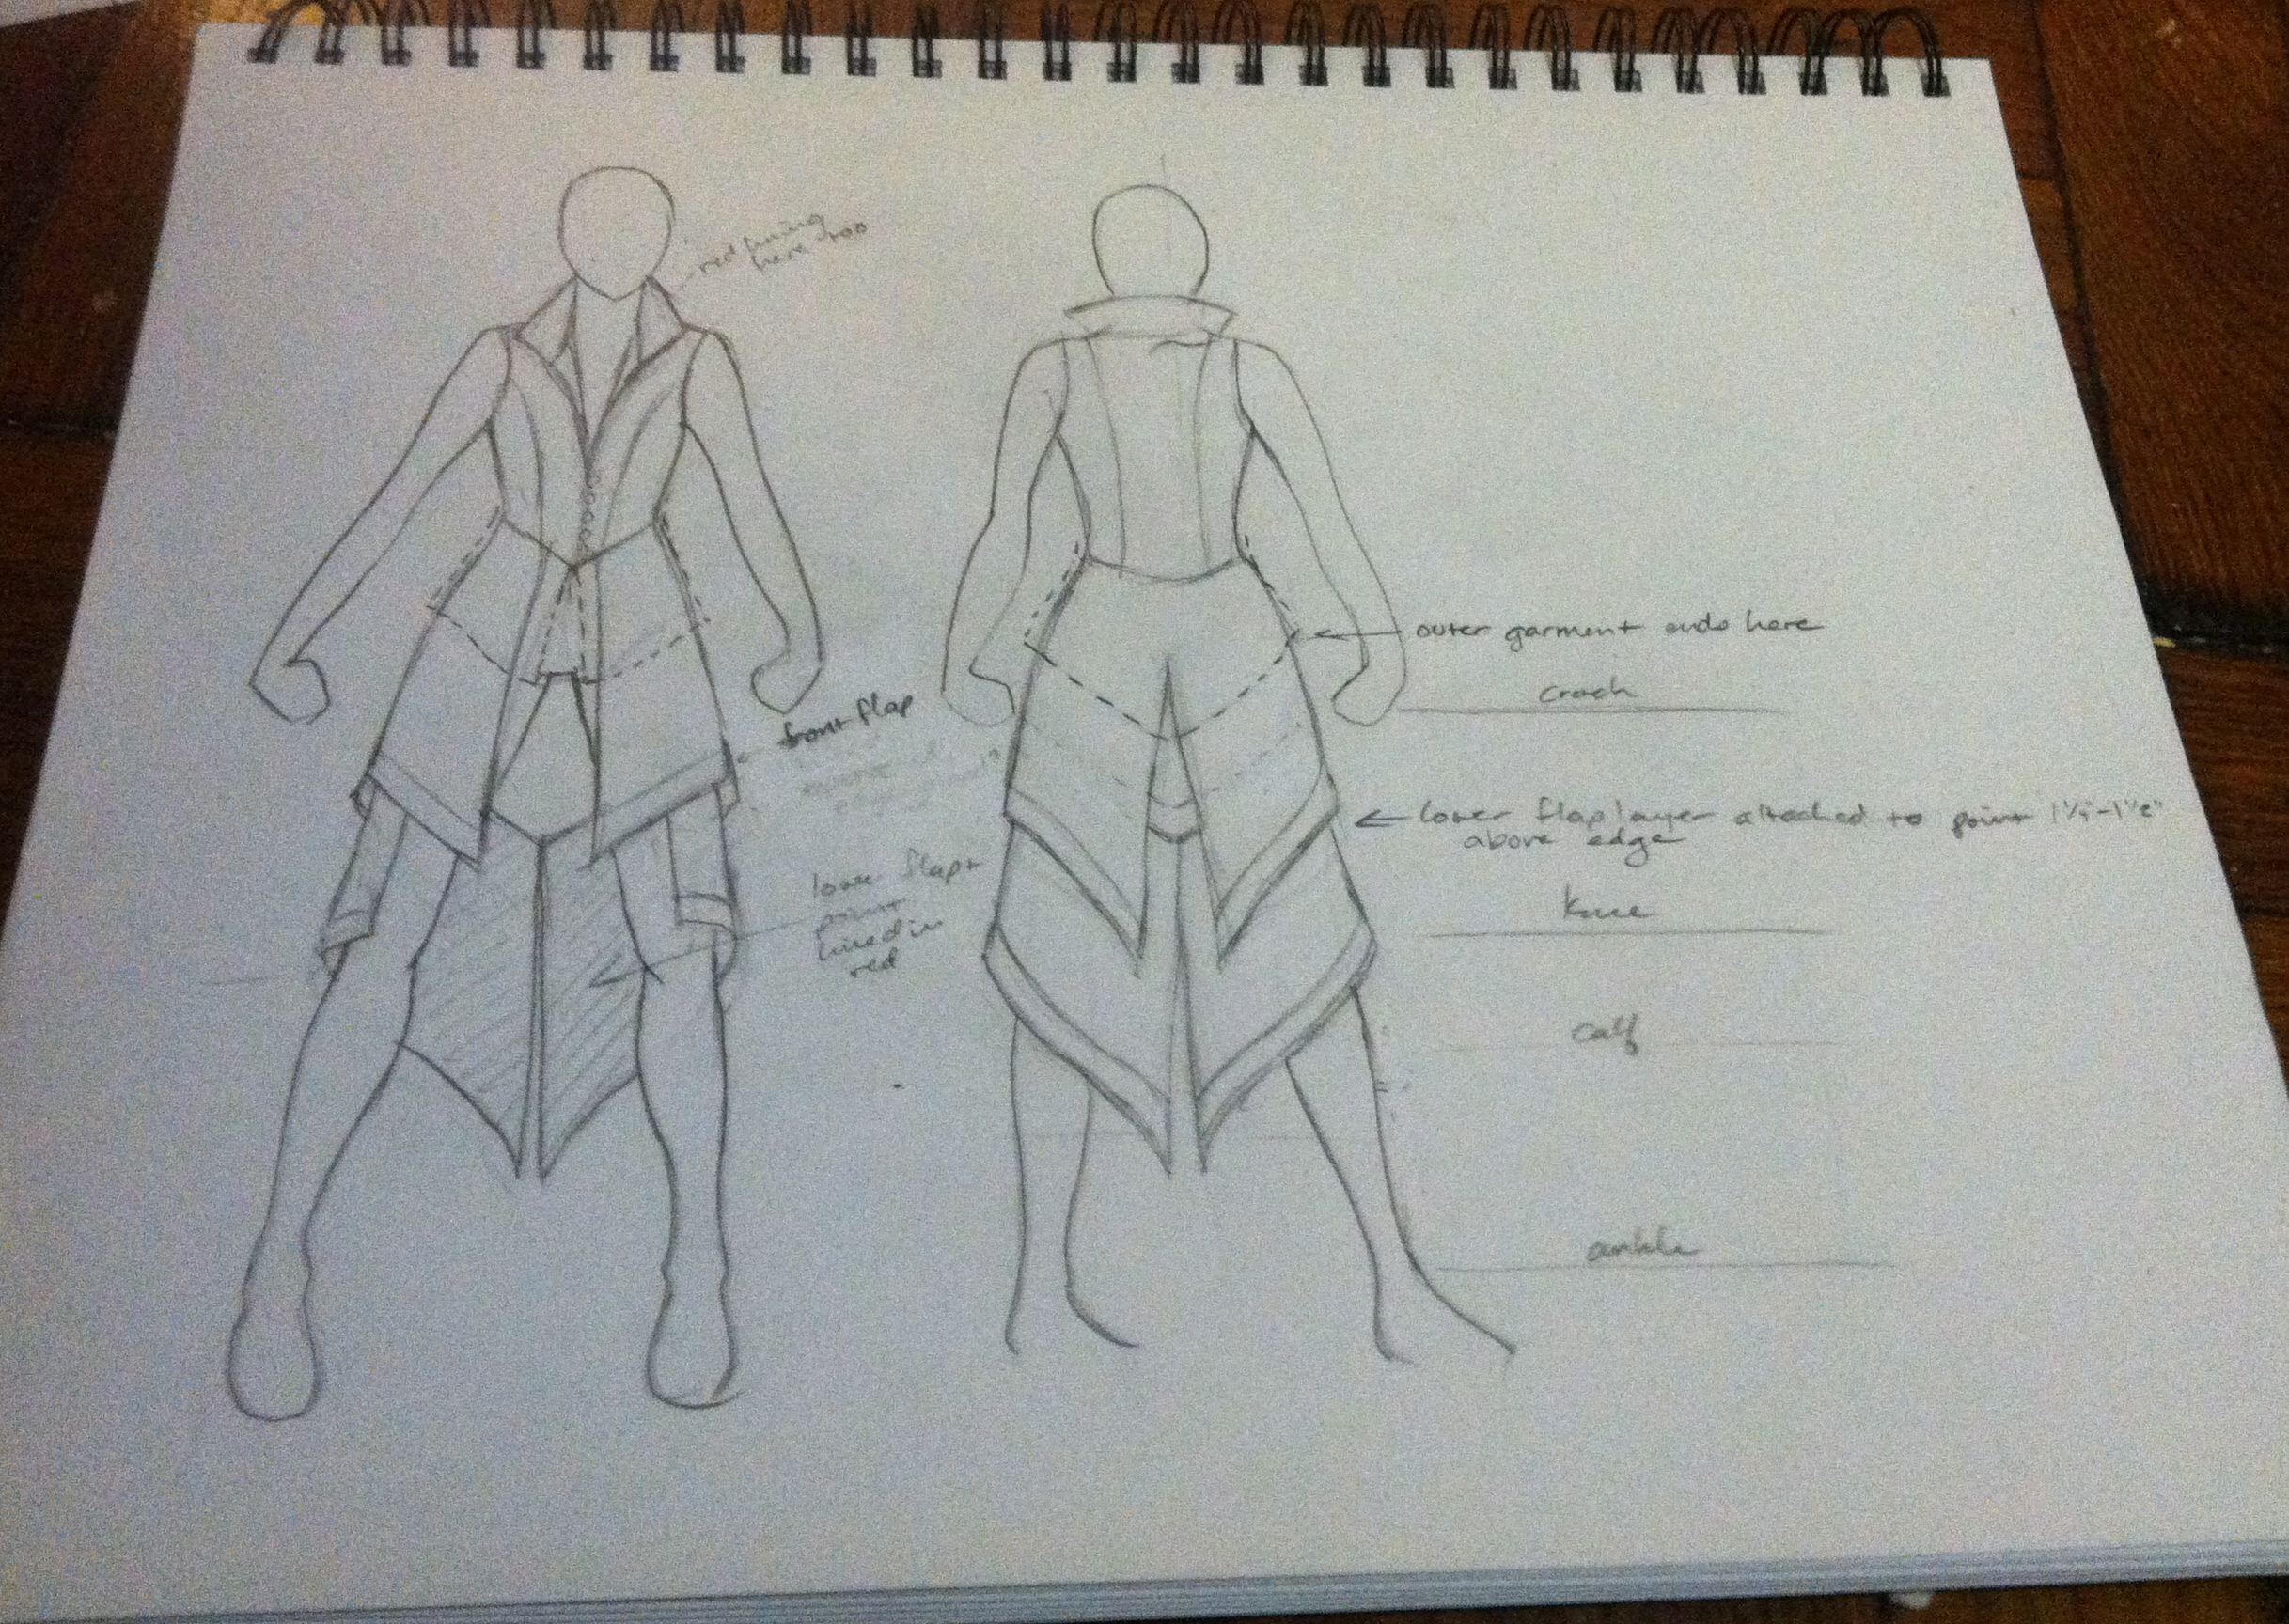
This sketch was very early in the process, and I notice I forgot the sleeves. I also went with a shoulder princess seam in both front and back instead of doing an armhole princess in the front.
Since the bodice is mostly hidden I decided to develop the bodice and tails separately and join them with a waist seam. The bodice would need to be pretty close-fitting to avoid bunching under the jerkin, so I went with a shoulder princess seam block that I’d draped a few months back. I think it’s got about two inches of ease in the bust and waist, and the armscyes are high and tight. (Possibly too high for an ordinary garment, but since the sleeves would need to fit through the sleeve openings in the jerkin it suited this purpose just fine.)
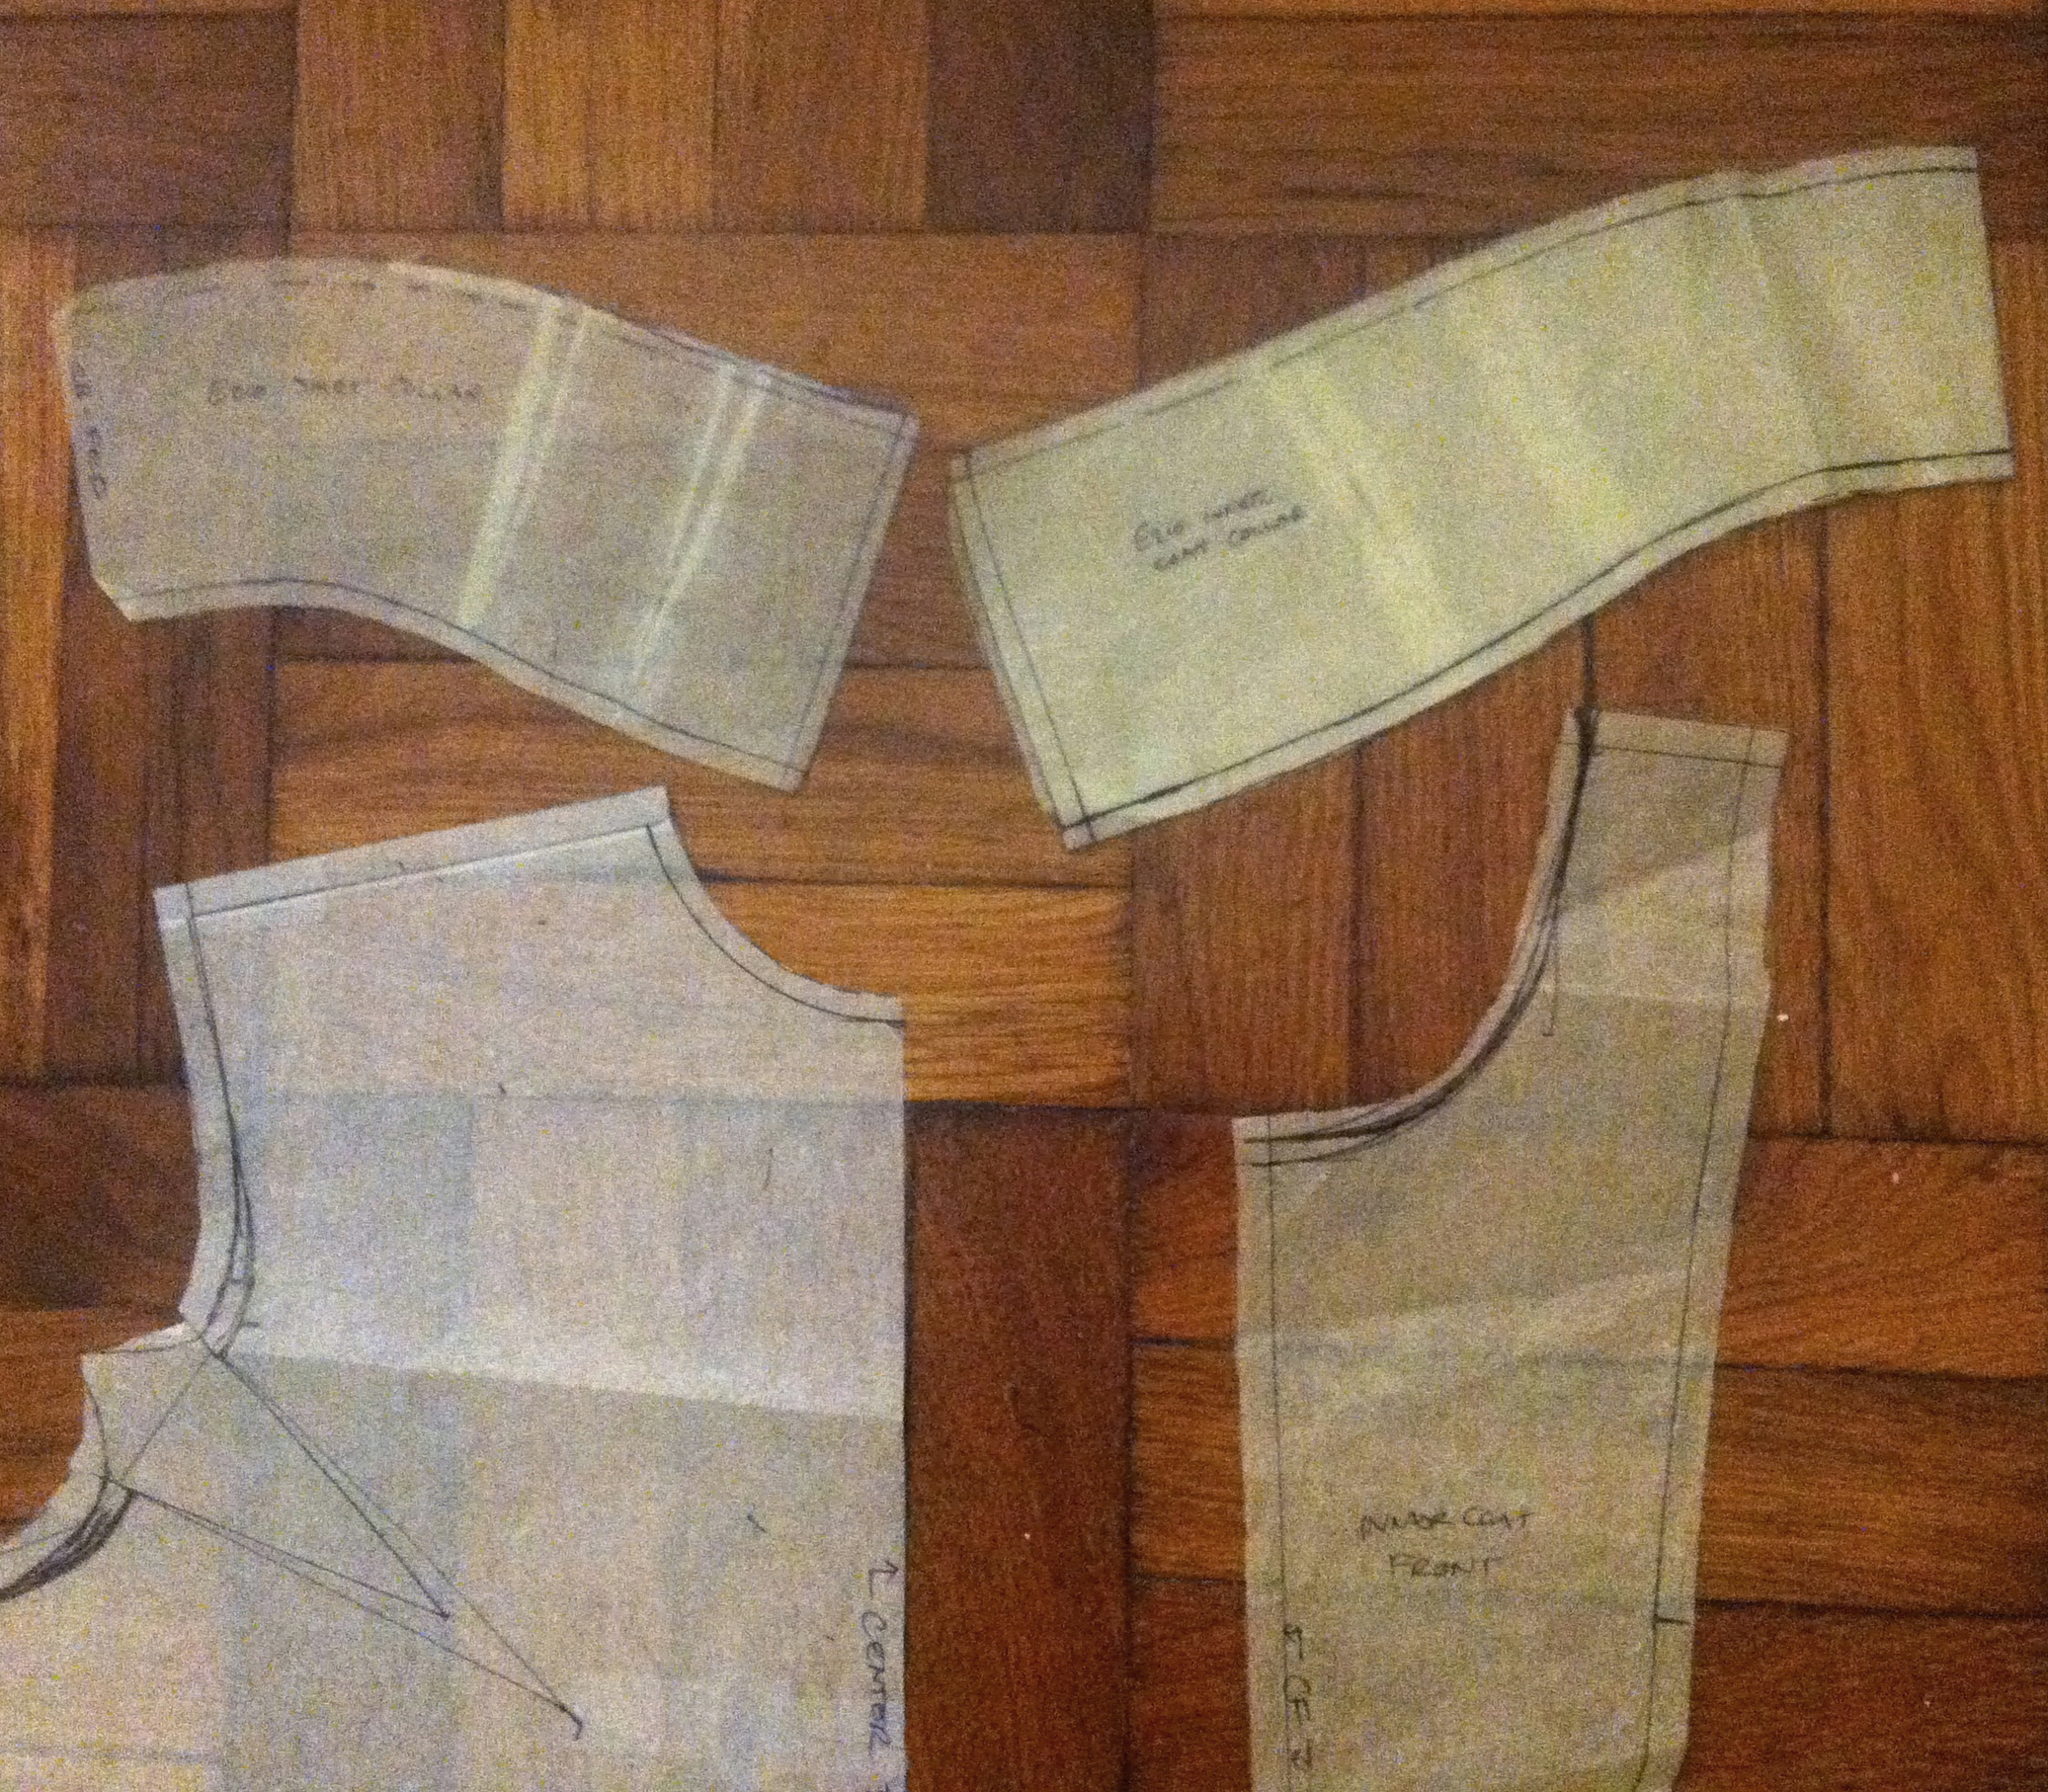
Comparing the center front and collar pieces of the shirt and inner jacket.
I cut the neckline a bit less than an inch wider and maybe an inch and a half lower than the one for the shirt, so that the collars would nest nicely when worn. Then I iterated the collar shape over two or three muslins until the proportions looked good. It’s probably possible to shortcut this if you’re better than I am at visualizing how curved seams come together, but I think it worked out well enough. Unfortunately I didn’t think to snag any photos of the muslins, so you’ll have to imagine this.
The picture on the right is what I came up with. The shirt front is on the left, the center front piece of the jacket on the right, with center fronts aligned toward the center. The necklines aren’t directly comparable because the shoulder seam on the shirt is shifted slightly forward, but you can see how much longer the jacket collar is.
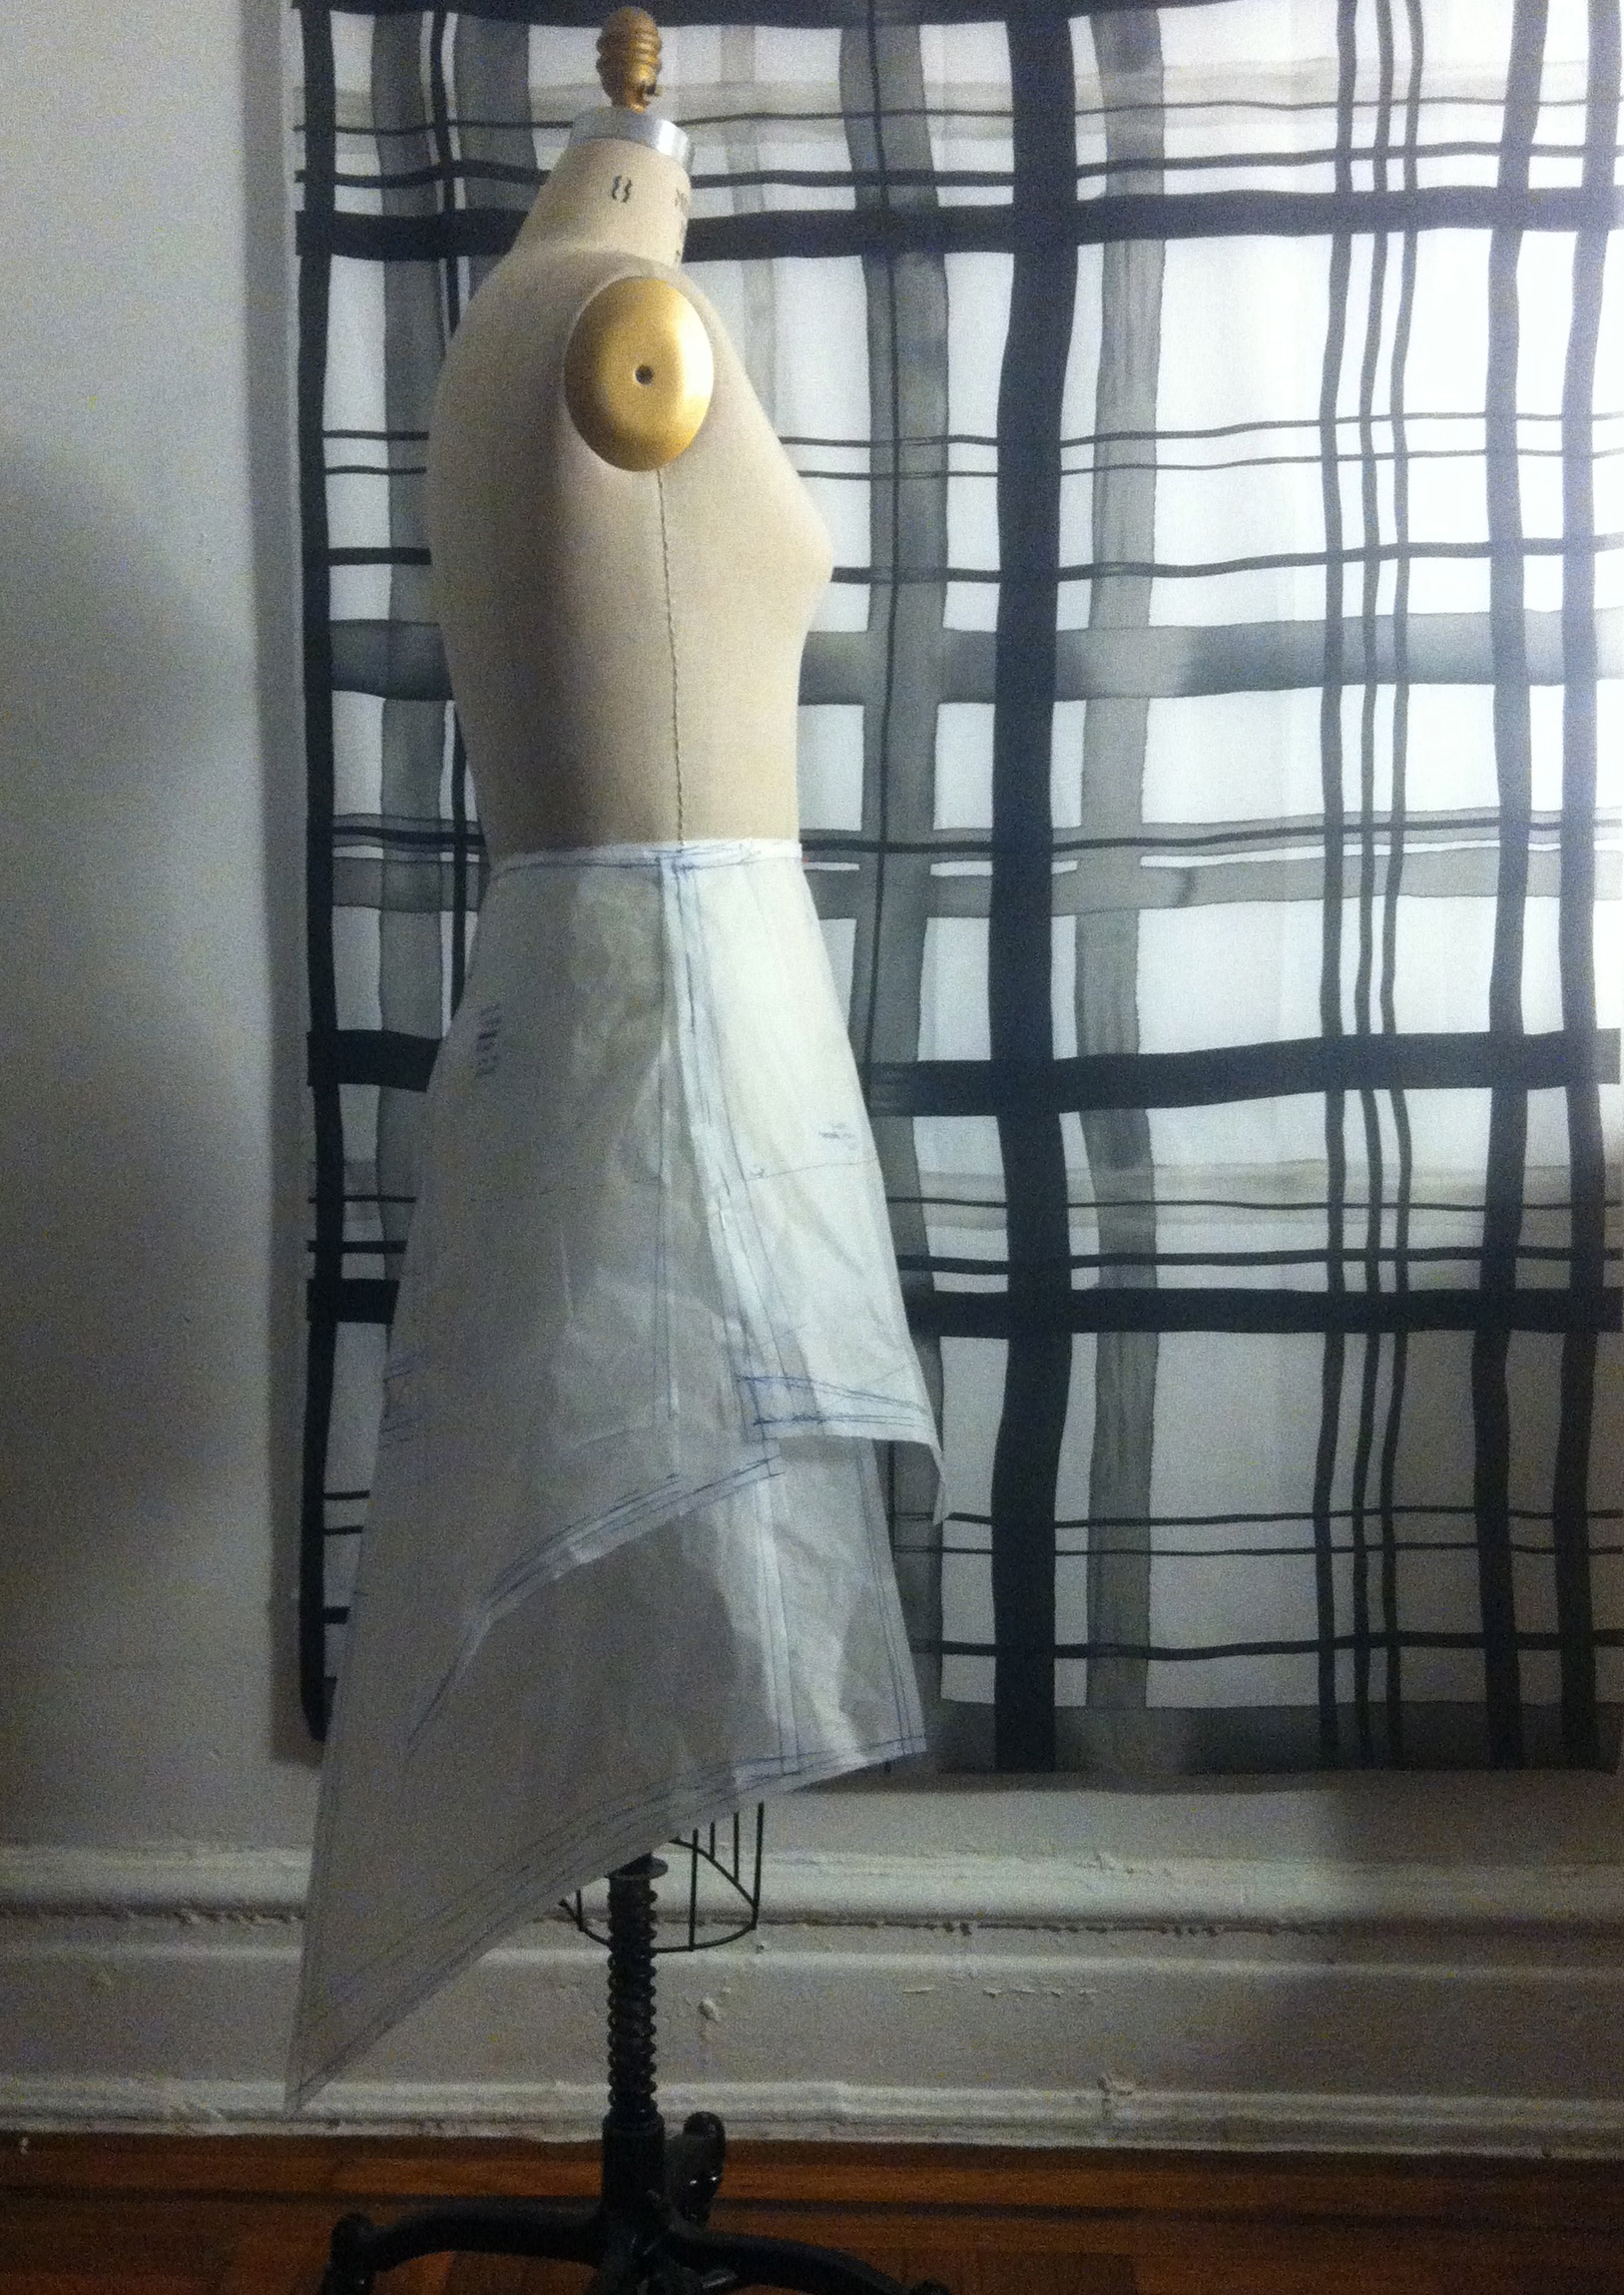
The “tails” consist of two distinct layers, both developed from an A-line skirt pattern. The lower layer is a single width that wraps partly around to the front of the legs, while the upper has distinct front and back panels that join at the side seam with about a 1″ gap in length.
 Starting with the lower panel, I aligned the front and back skirt pieces at the side seam (1) and traced off part of the front to create the portion that wraps around, leaving a small dart to preserve the waist shaping where the side seam should be. Then I drew in the sloping hem and back swallowtail shape (2). Finally, I drew in the upper layer over the top of this, following the original skirt block but allowing slightly more ease at the hip and waist so that it would fall smoothly over the lower layer (3).
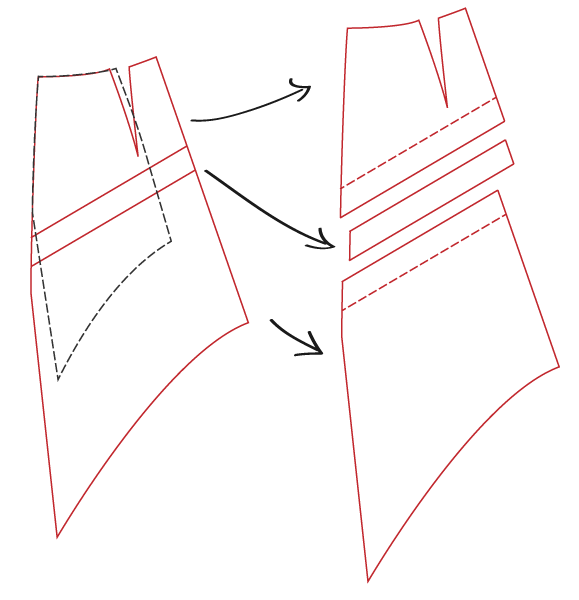 If you look at the gap between the upper tails in the reference sketch, you can see what looks like an additional shallow-pointed flap on top of the lower set of tails. This is visible in the in-game art, so I didn’t want to skip it, but I didn’t really want to add yet another layer of bulk at the waist. In order to avoid having three full layers of “skirt” to attach, I decided to create this point with a 2″ facing at the lower edge. The lower set of tails are attached to the upper edge of the facing, and supported by a muslin lining to prevent them from sagging. You can see the pattern for this at left—the three layers overlap in the area marked by the dotted lines.
I have to admit I eyeballed the proportions for all of this. It hadn’t yet occurred to me to stick the character art into Illustrator and measure it properly, so I just slapped the pattern pieces up on my dress form and stared at them for a while, then adjusted as necessary. You can probably see some of the places where I added more paper and redrew the lines in the image below—I decided after looking at some pictures of Ezio in motion that the lower piece needed to be a little wider, and I widened the upper layer slightly to match. In the end I think it came out okay, though if I was doing this again I’d probably be more rigorous about it. Ah well.