
The other bit of Ciri I was really excited to tackle was the chainmail vest. Much like embroidery, linking thousands of rings by hand is the kind of meditative project that you can fall into for days at a time. I made things a little complicated for myself by choosing steel rings, which are much heavier and harder to open/close than aluminum, but overall I was pleasantly surprised at how quickly it came together. Even with some goofs along the way, the whole multi-layered contraption came together in just under a hundred hours.
One important point to remember about a piece like this is that each individual layer of the vest adds a significant amount of bulk. The layers have to be constructed in order, from the inside out, because each additional layer needs to be fitted on top of the previous. That meant starting with the blue leather vest, and specifically with the lining for that vest. (The finished vest is six layers, ignoring the bindings: twill lining, cotton batting, aqua lambskin, more twill, wool melton, and steel mail.)
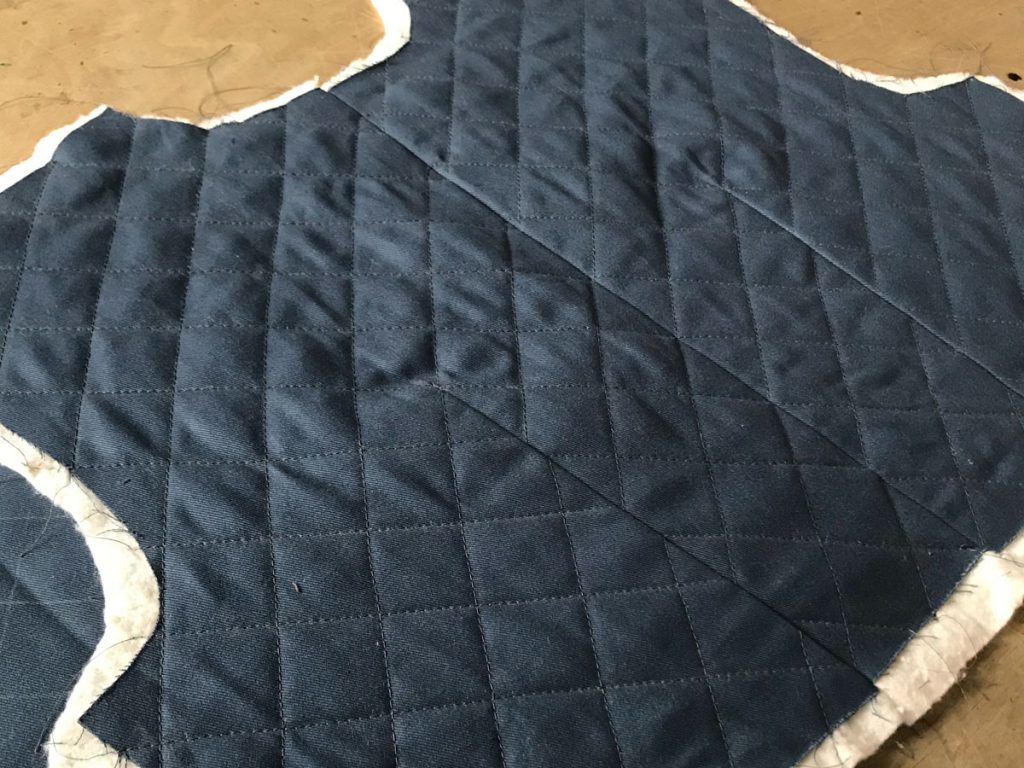
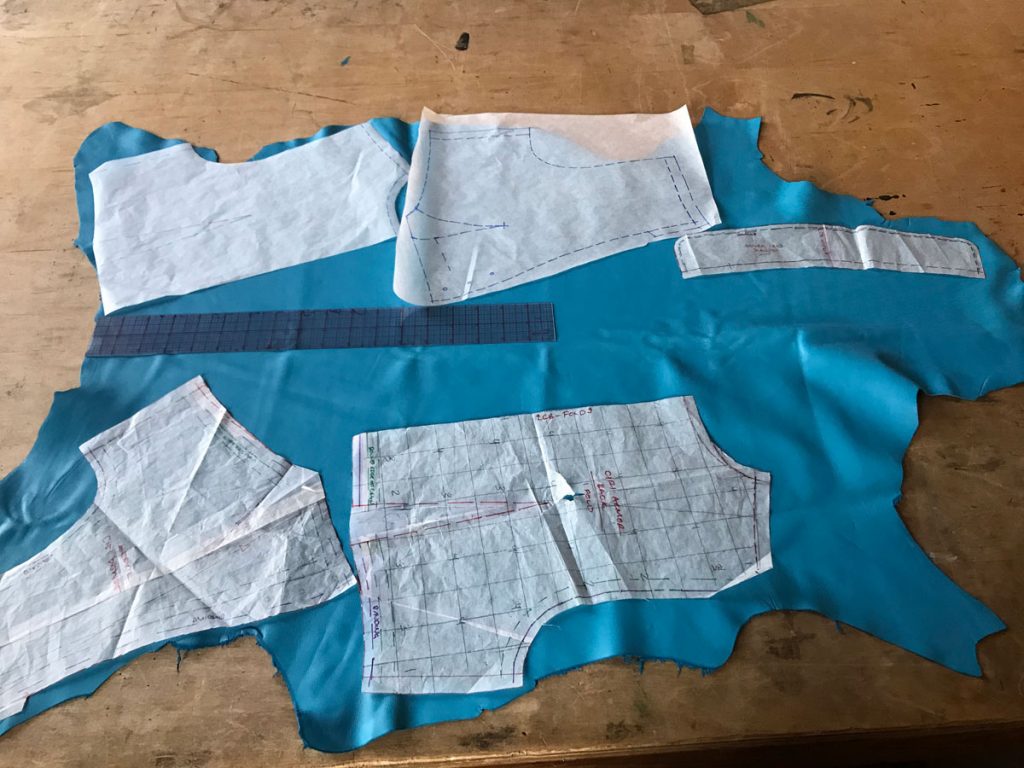
I started by drafting the pattern, again starting with my personal torso block, but tweaked for a snug fit around the ribcage so it would pull the looser shirt layers in and hold them in place. I wanted to give myself a little padding in addition to the visible leather layers, which would help to cushion the weight of the mail in addition to adding a dash of verisimilitude, so I decided to quilt the cotton twill lining to a thin cotton batting. I added a bit of extra allowance around the edges of the pattern pieces in case the quilting pulled them in, then cut them from cotton batting and twill and quilted them together, making sure to match the quilting lines along the darts, sides, and center back seam.
I copied my pattern pieces onto oaktag to make them easier to trace onto the leather, and laid them out on the right side of the leather so I could keep an eye out for flaws. I interfaced the collar with a medium-weight fusible to give it more heft, which is sometimes a little dicey since leather doesn’t like high heat but worked out fine in this case. I was also a little worried that my domestic sewing machine wouldn’t handle the leather bulk, but it’s a tough little mechanical beastie and I didn’t have any problems with assembly or even attaching the collar.
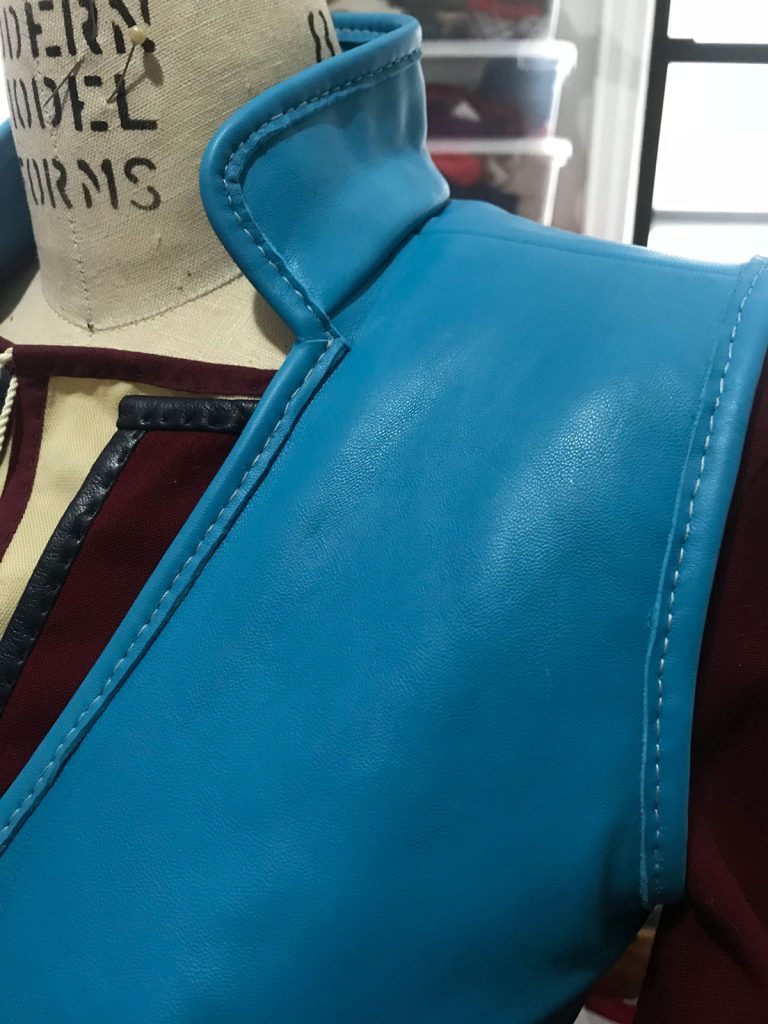
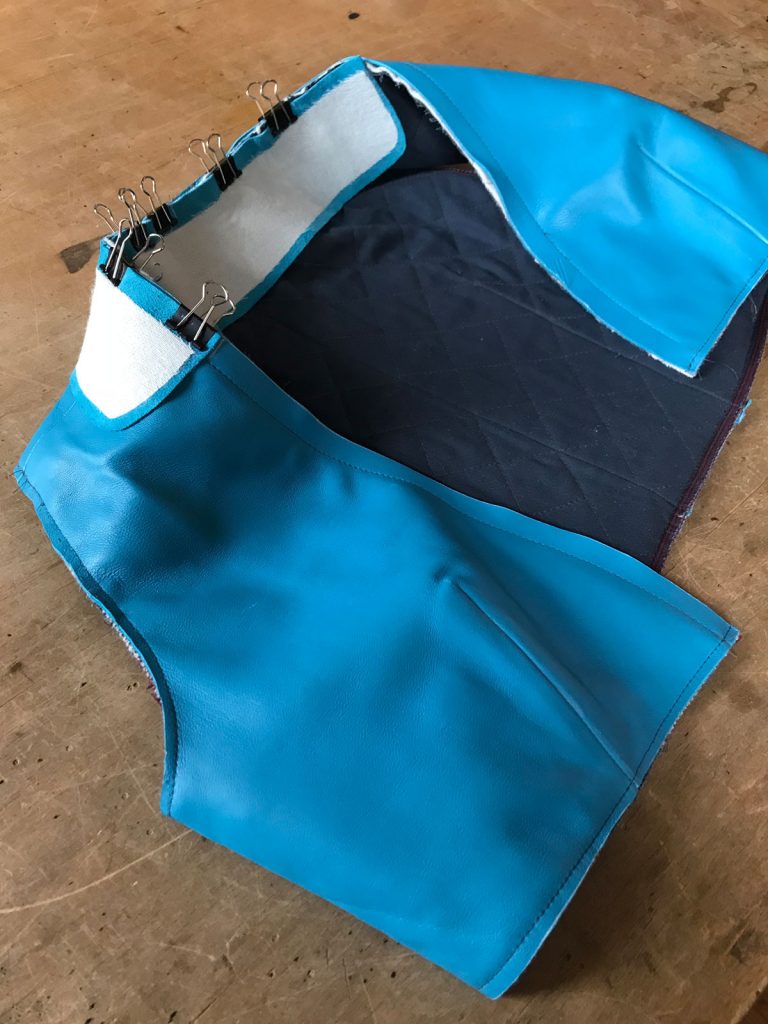
After assembling the leather shell with the lining, I bound over the edge with more of the blue leather. I cut the strips slightly wider than needed, glued them on with the excess to the inside, and used gel pen and marking wheel to mark out the hand stitching. Then I saddle stitched by hand through all the layers and trimmed away the excess.
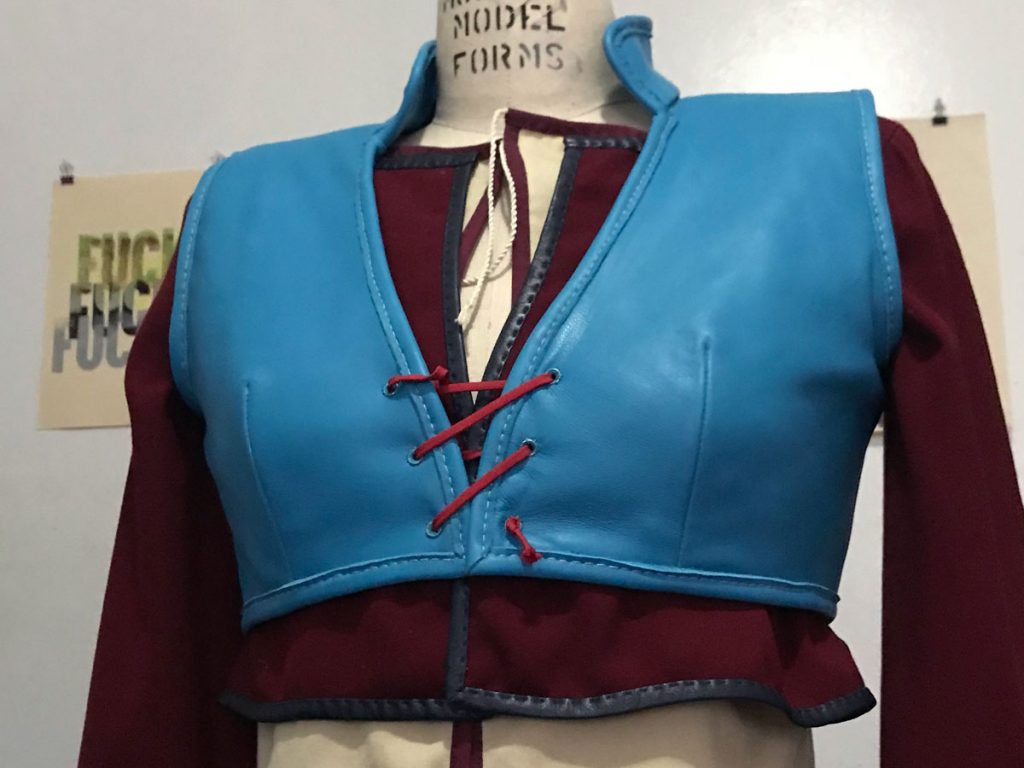
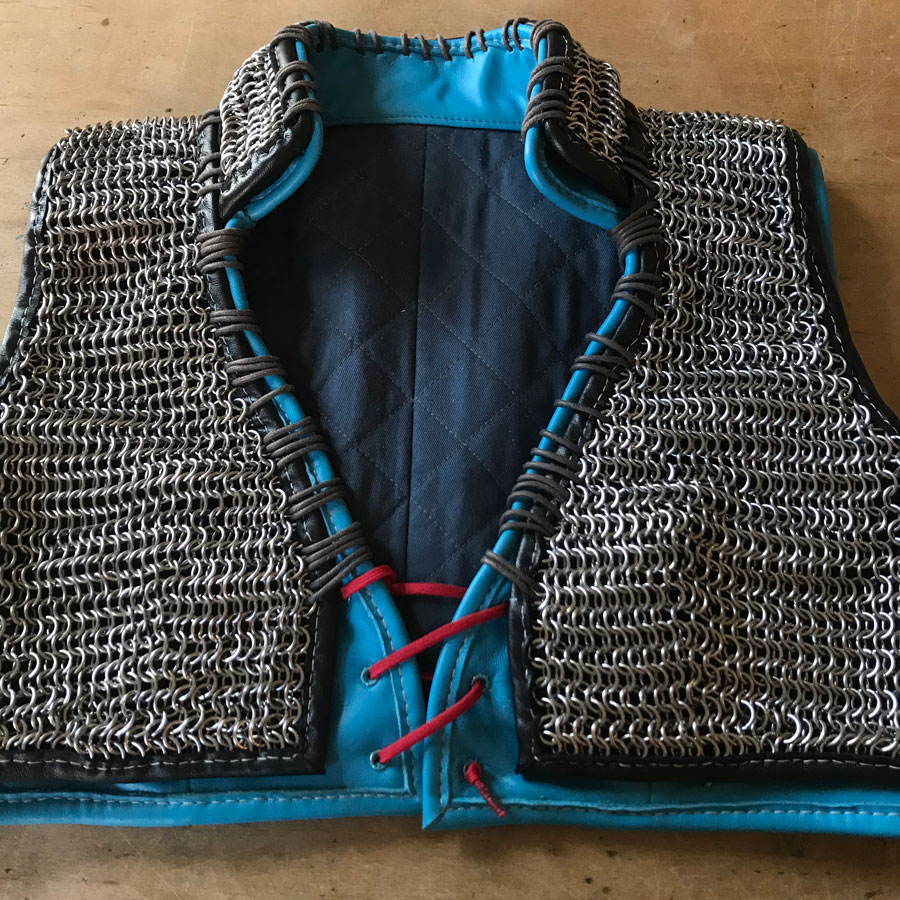
For the front closure, I poked holes with an awl and did hand-sewn eyelets with a jump ring in each for reinforcement. The red cord in the picture is a placeholder, which I eventually swapped out for an old shoelace to get that authentically weathered look.
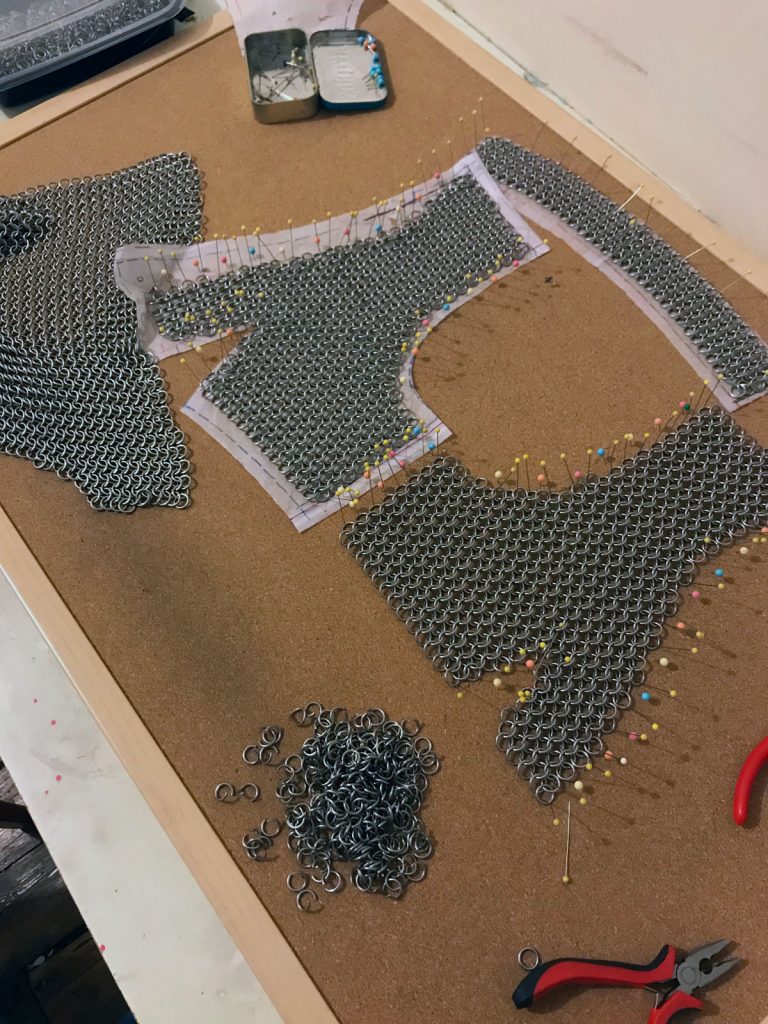
The mail vest was created using a basic European 4-in-1 weave, which seemed to be the best match for the art, with the small refinement of darts to give it a closer fit under the bust. I drew a grid on the leather vest pattern to estimate the area for my ring order, and ended up using about 4000 steel rings in 16ga 5/16″ diameter. I pinned my pattern pieces to a corkboard and assembled the mail on top of them, using pins to keep everything lined up and keep the mail from slithering around, then created the other side as an exact mirror image by counting rings in each row. For me it was easiest to speed-weave horizontal chains of three rows each, then link them up to the rest of the vest once I’d reached the full width. I did the front and back separately, following the pattern pieces, then linked up the darts and shoulders.
At this point, I had something that looked like a vest but had secretly encountered my big goof. The width I’d calculated for the back was actually a bit too narrow once it was layered over the bulky leather vest, so it was stretched against gravity across the back of the shoulders. That caused the rings to open up and create a visible distortion in the weave. The only solution was to unlink the entire center back and add more width, so I spent several days adjusting that and then tinkering with the overall length and edge shapes to get it to match up with the vest pattern.
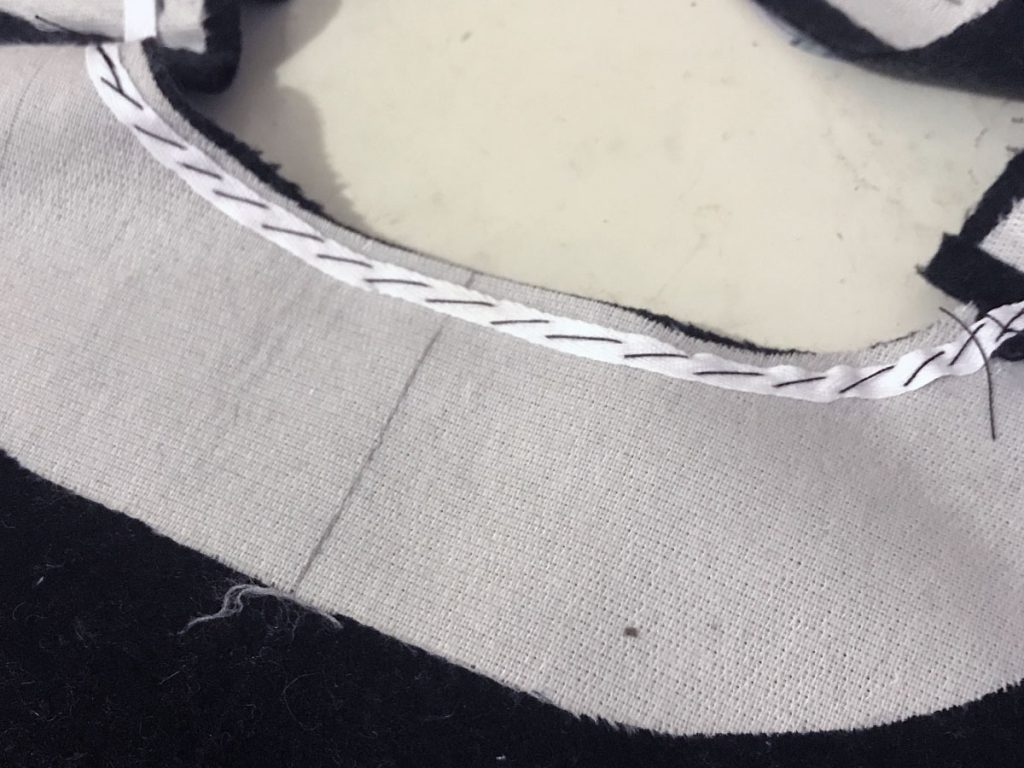
The next step was to secure the mail layer to its backing. I just needed something dark colored and relatively sturdy, so I used more of the same wool coating I used for the skirt panels. Because of the significant weight of the mail (the finished vest weighs about five pounds,) the backing layer required some engineering for stability. I interfaced the neckline and edges with a fusible weft insertion and padstitched twill tape along the seamlines.
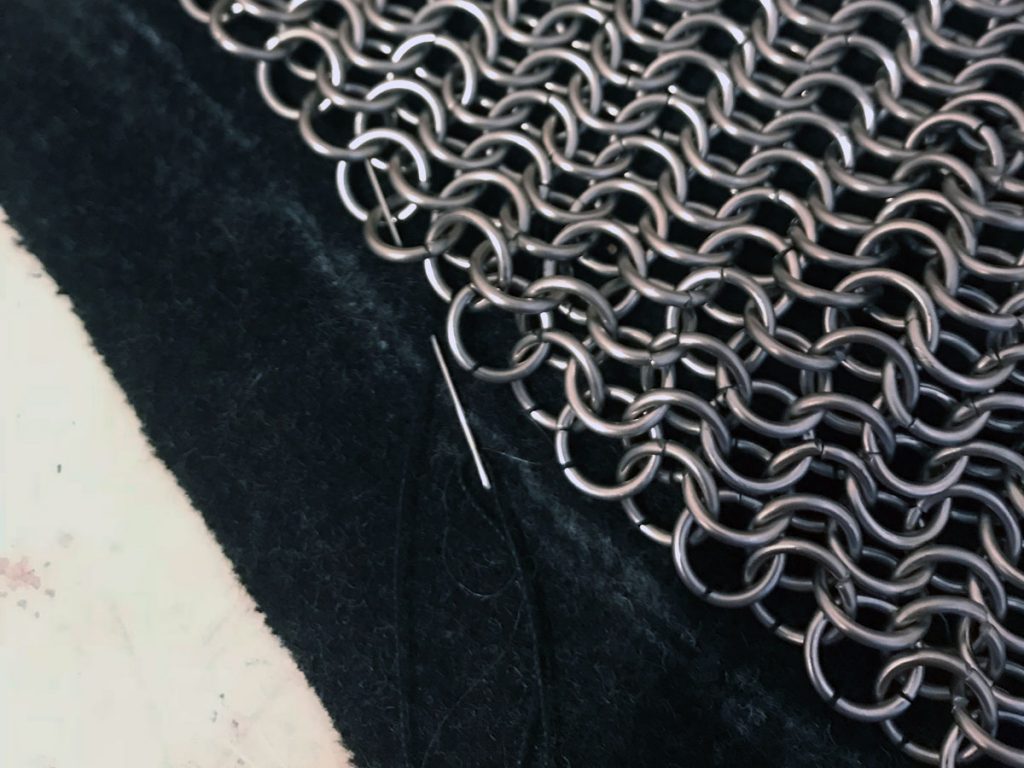
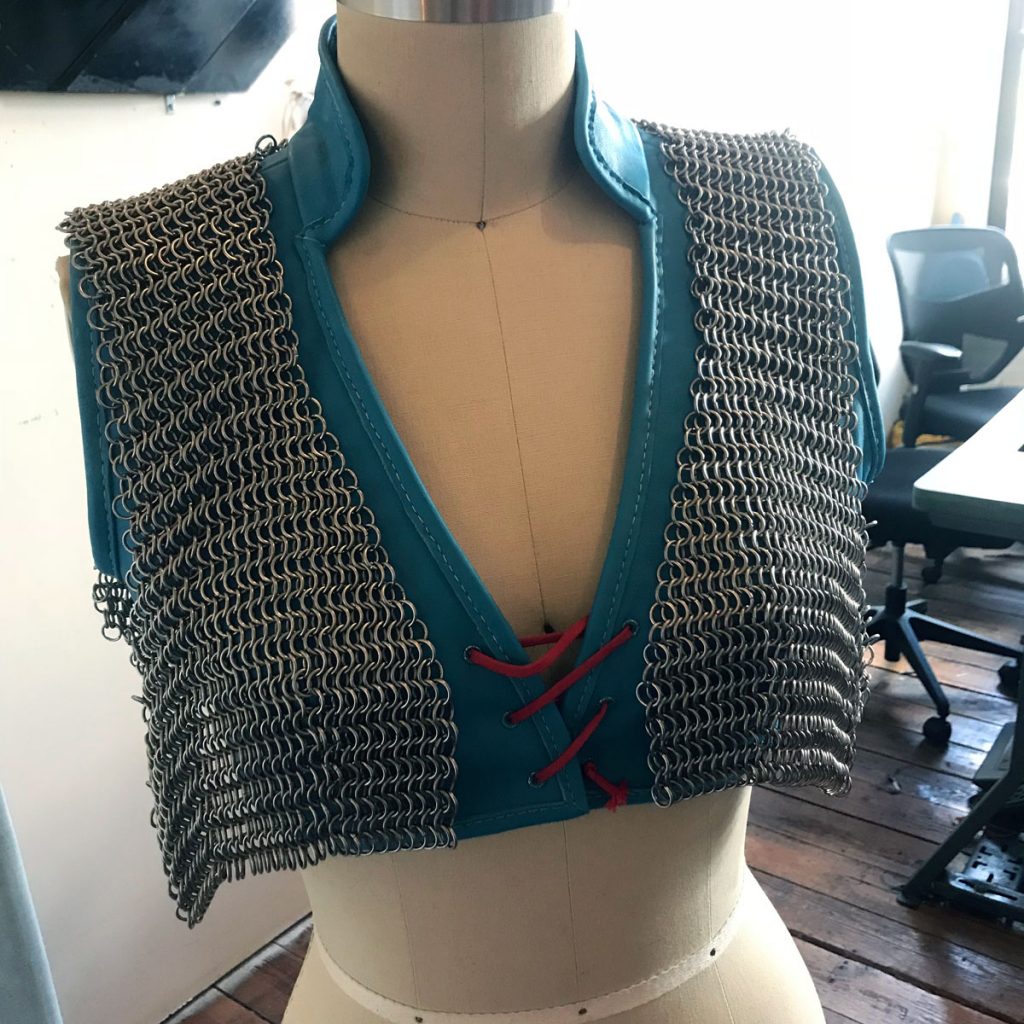
Then I sewed on the mail, catching each ring with heavy thread and making sure that the rings were completely closed so they wouldn’t slip out. I did some additional finessing of the mail width and length, especially in the back, as too much length or width would make it sag and too little would cause the unsightly stretched look. I didn’t trim away the excess wool until the rings were fully secured and I’d checked the proportions over the blue vest one last time. Once everything was reasonably solid, I lined the wool layer with another layer of cotton twill and bound the edges in black leather using the same method I used for the blue vest. Here it turned out to be a very good thing I was stitching the bindings by hand, as I was able to stitch through the individual rings and further reinforce the mail edge.
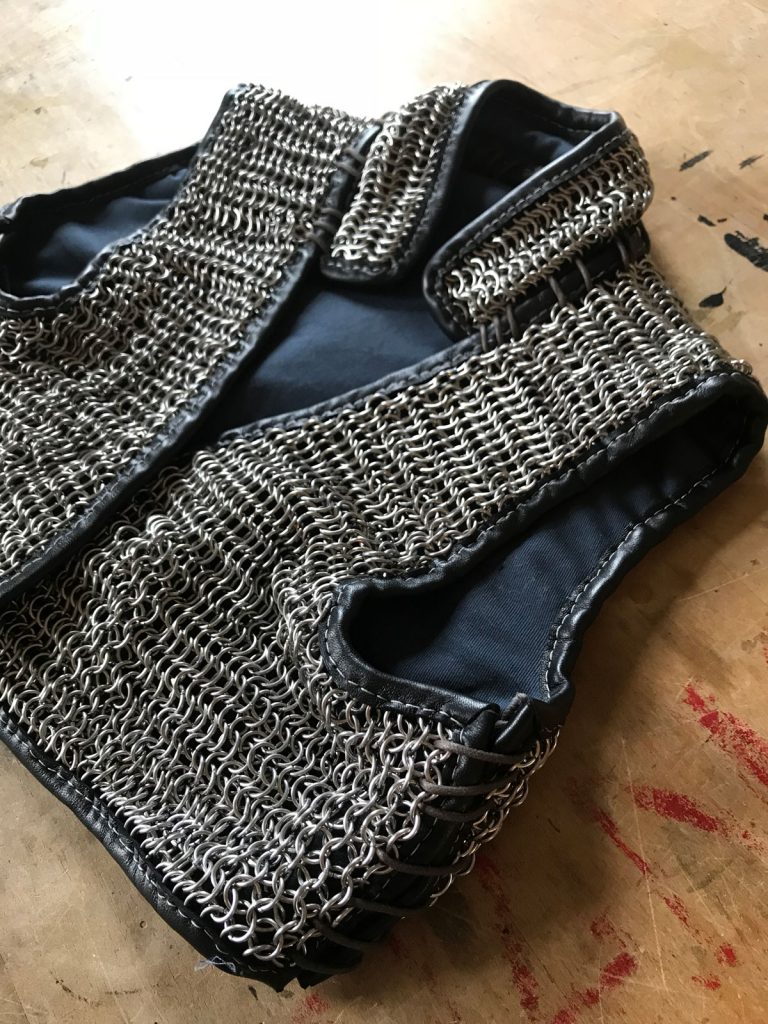
The chainmail for the vest is joined at the shoulders, then bound all the way around the edges, and the underarm seams and collar are laced together with cord. As I started to assemble the vest I discovered another error, which was that I had neglected to account for the material thickness in determining the second collar length. Not only did the chainmail vest have to be bigger to fit over the blue vest, but the collar had to be longer so that it would fit nicely around the outside of the blue collar. I ended up having to dismantle my first collar (which I’d already fully assembled and bound) and extend it a good inch before it looked right.
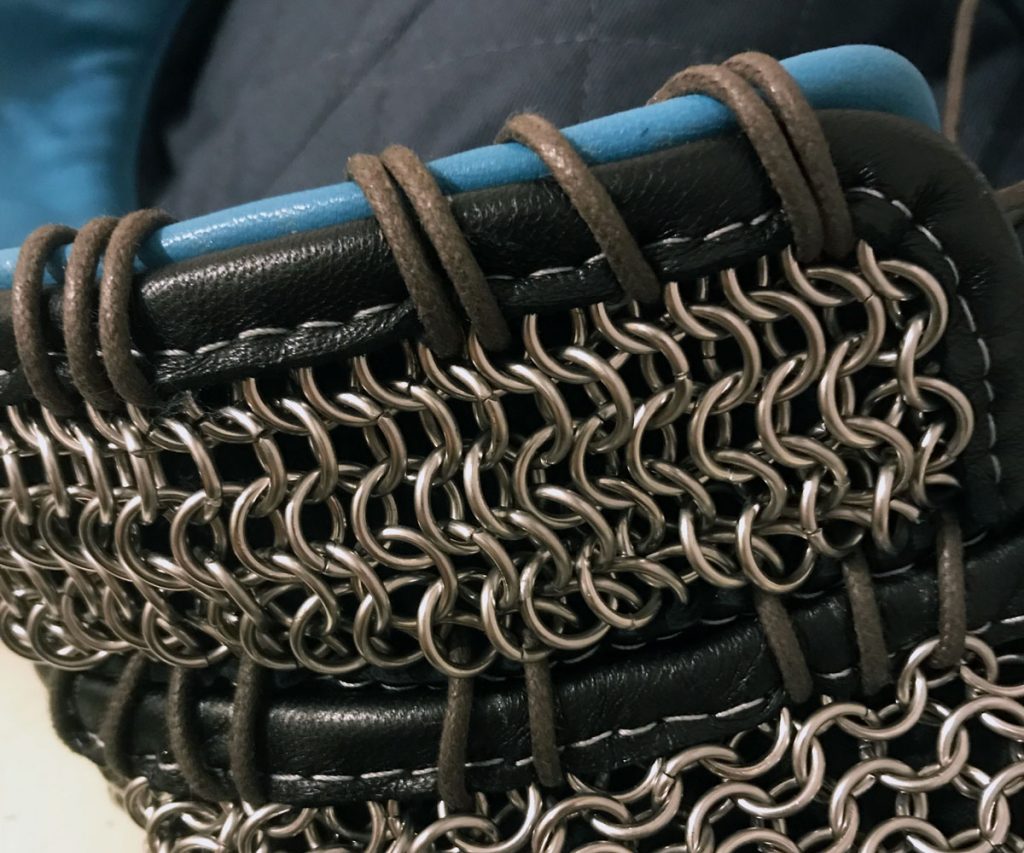
Finally, I punched holes with an awl and laced the two layers together with waxed cotton cord. The cord was too thick for any needle I own, so I improvised a bodkin with a scrap of brass tubing (cut at an angle to form the point, then crimped onto the end of the cord with a pair of pliers.)
Would it be possible to commission you to make this vest? I would definitely pay well for it.
Yes, for the right price! It was an extraordinarily time-consuming project so the labor cost would be considerable. You can email me gillian@alltomorrowspatterns.com if you’d like to discuss further.
I emailed you :)